Manage Account
Let us learn how to manage your Cashfree Payments account.
Profile
You can manage your account information and control overall activities in the Profile page. You can control basic account settings, configure two-factor authentication, monitor login history, and view your tax invoices.
My Information
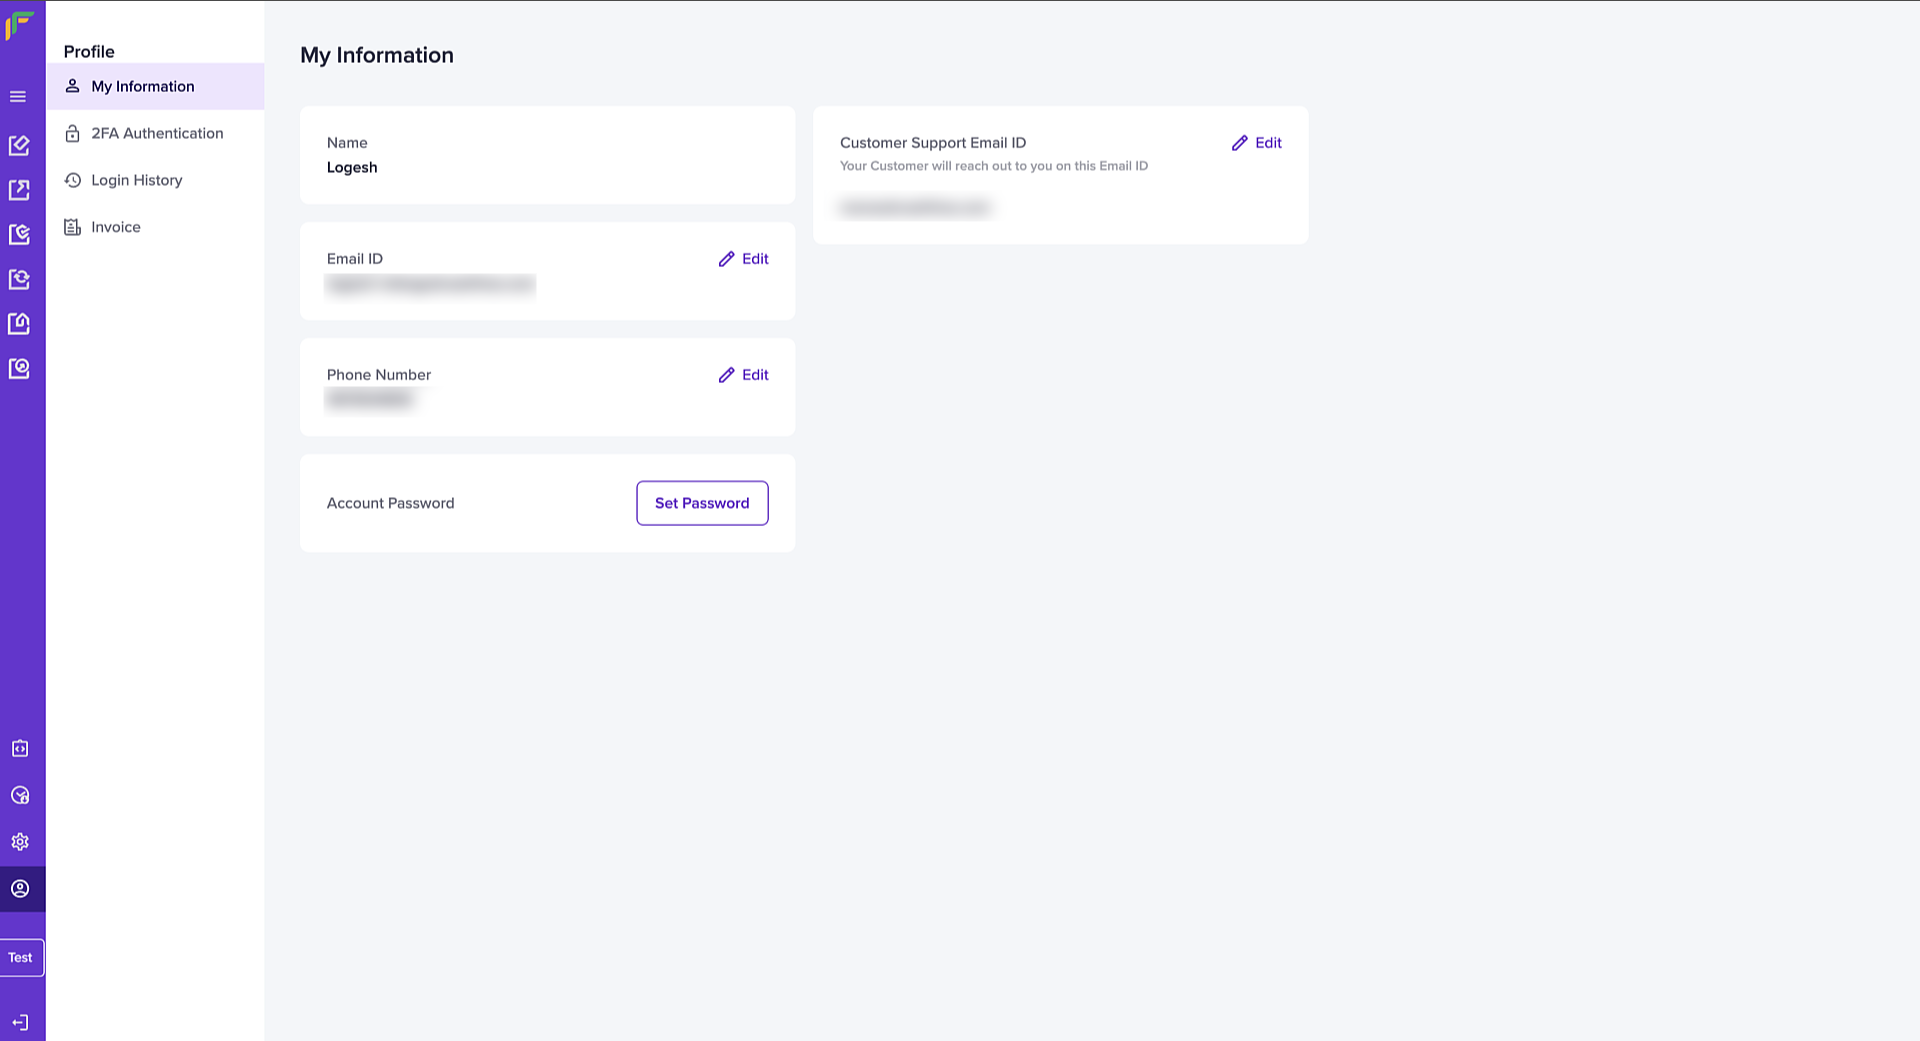
My Information displays the following information under Personal Profile:
- Name - The registered name of your Cashfree Payments account.
- Email ID - The registered email address of your Cashfree Payments account.
- Phone Number - The registered phone number of your Cashfree Payments account.
- Customer Support Email - Your customer support email address.
- Account Password - Click Set Password to change your account password
My Information
Update Information
You can edit your details such as email ID, phone number, and customer support email ID using the features available on the dashboard. The Edit icon next to each information allows you to update the information after successful OTP authentication.
Why Aadhaar Validation?
To confirm your identity and prevent fraudulent activities, we require an aadhaar validation to update your contact information.
Update Email ID
Follow the instructions below to update the email ID:
-
Click the Edit icon.
-
In the Edit Email popup, enter the aadhaar number in the respective field, and click Verify.
Correct Aadhaar Number
Ensure the aadhaar number used during the KYC process of your Cashfree Payments' account is used to initiate this change.
- In the Enter OTP popup, enter the OTP received on your aadhaar registered mobile number and click Confirm.
- Enter the new email address in the Enter New Email field, and click Verify Email.
- Another OTP is sent to the newly entered email address. Enter the OTP in the Verify Email popup and click Confirm.
- We will review the request and update the email ID for your account within 24-48 hours. You will be logged out of the session after email verification. Use your updated email address and the existing password to login.
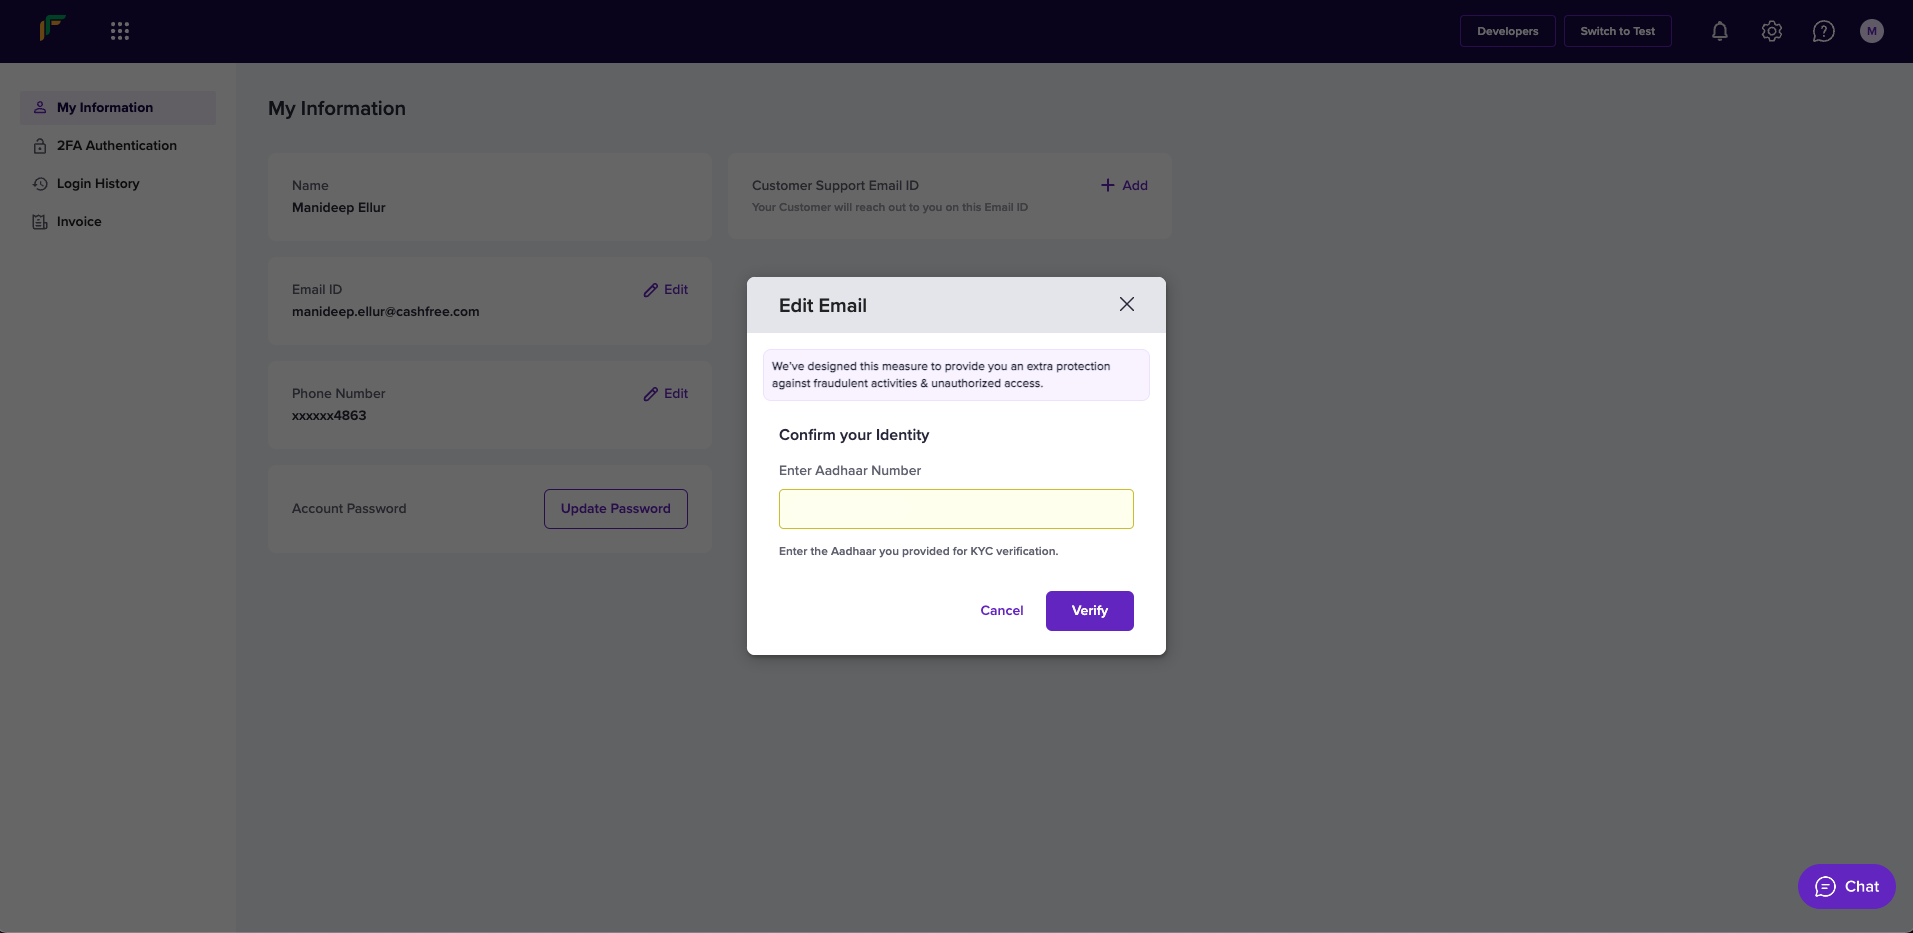
Enter Aadhaar Number
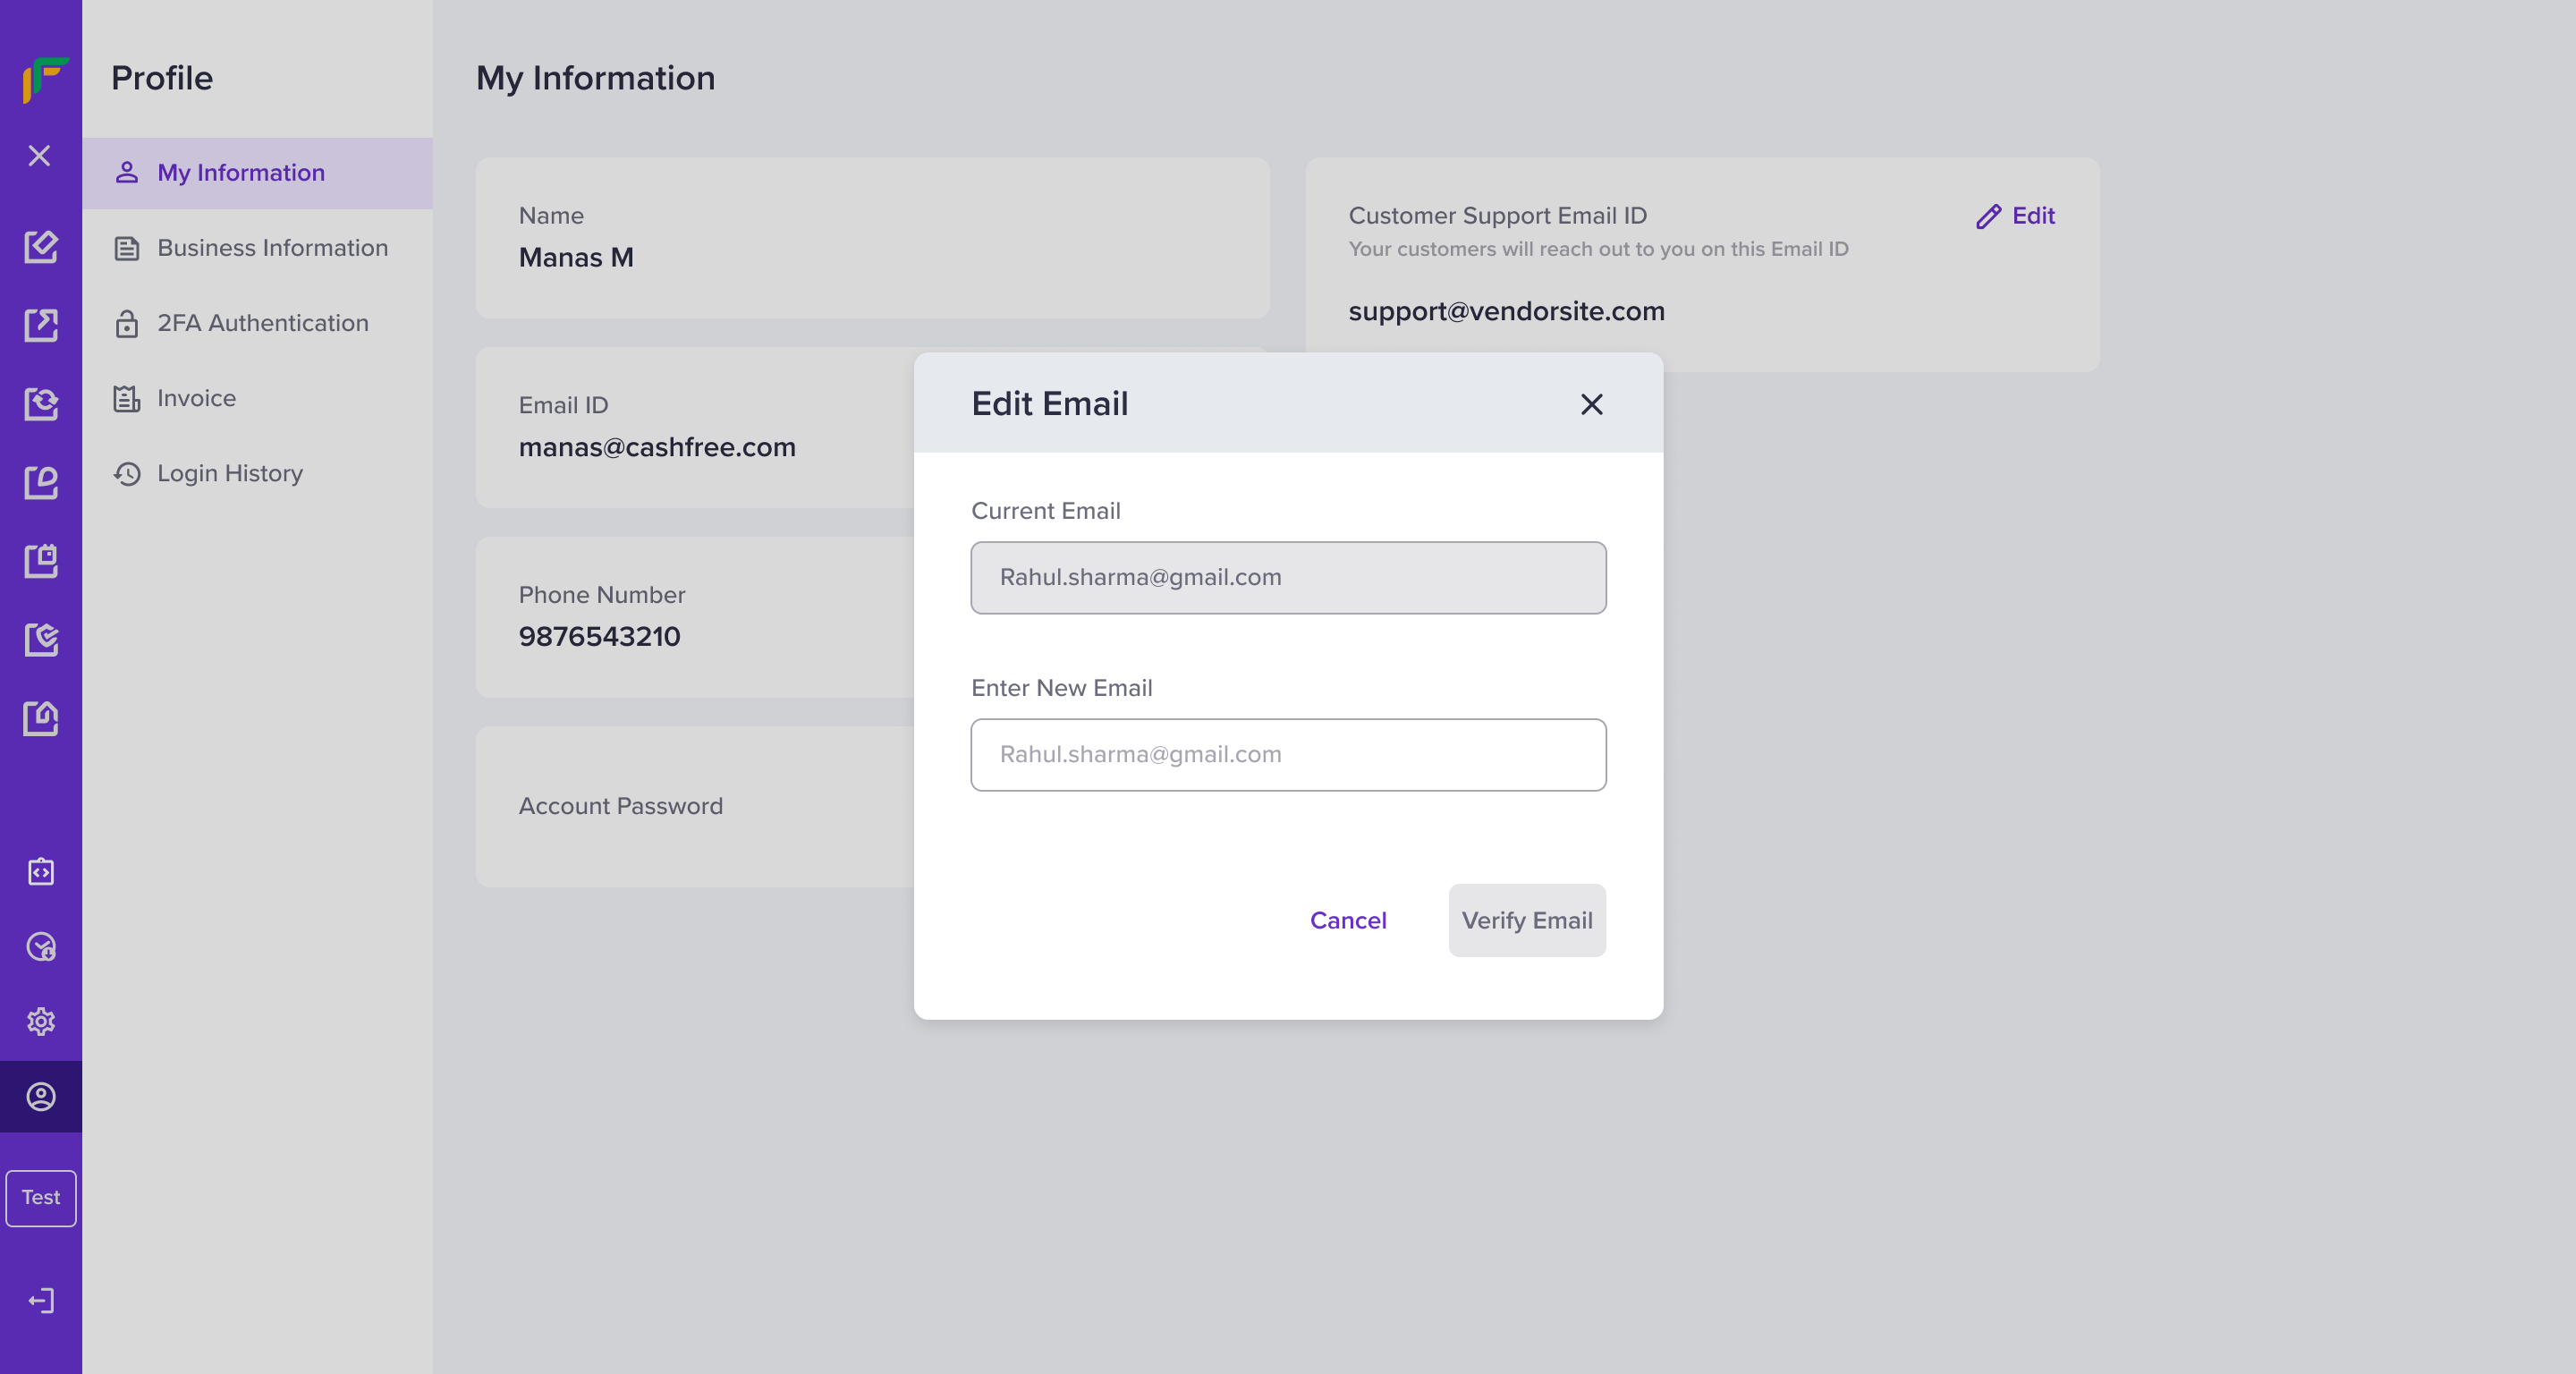
Enter New Email
Update Phone Number
Follow the instructions below to update phone number:
-
Click the Edit icon.
-
In the Edit Phone Number popup, enter the aadhaar number in the respective field, and click Verify.
-
In the Enter OTP popup, enter the OTP received on your aadhaar registered mobile number and click Confirm.
-
Enter the new phone number in the Enter New Phone Number field and click Verify Phone.
-
Another OTP is sent to your updated phone number. Enter the received OTP in the Verify Phone Number popup and click Confirm.
-
We will review the request and update the phone number for your account within 24-48 hours.
Validation Process
You only have to go through the aadhaar validation process once when you try to update both the email and phone number information.
Update Customer Support Email ID
Follow the instructions below to update customer support email ID:
- Click the Edit icon.
- An OTP is sent to your registered phone number or email address. Enter the received OTP in the Authenticate popup and click Confirm.
- The Customer Support Email ID field is now available to edit. Enter the new customer support email ID, and click Verify Changes.
- The customer support email ID is updated for your account.
2FA Authentication
2FA Authentication is a method to confirm secure login to your Cashfree Payments account and authenticate specific operations that occur in your account. It combines two different factors: sign-in password and OTP to confirm user identity. You receive an OTP to your registered phone number via SMS by default. You can configure it to receive the OTP on your email as well. Once the OTP is validated, the session is valid for 15 minutes.
If you do not want to use the OTP-based authentication, click Use this Method Instead to configure your account authentication via Google's Authenticator app.
You can have another level of security to the login sequence for your Cashfree Payments account. Switch the toggle Enable 2FA for Login to enable two-factor authentication for every login attempt to the merchant dashboard for you and your alias account. This added layer of security reduces fraud and keeps your account secure.
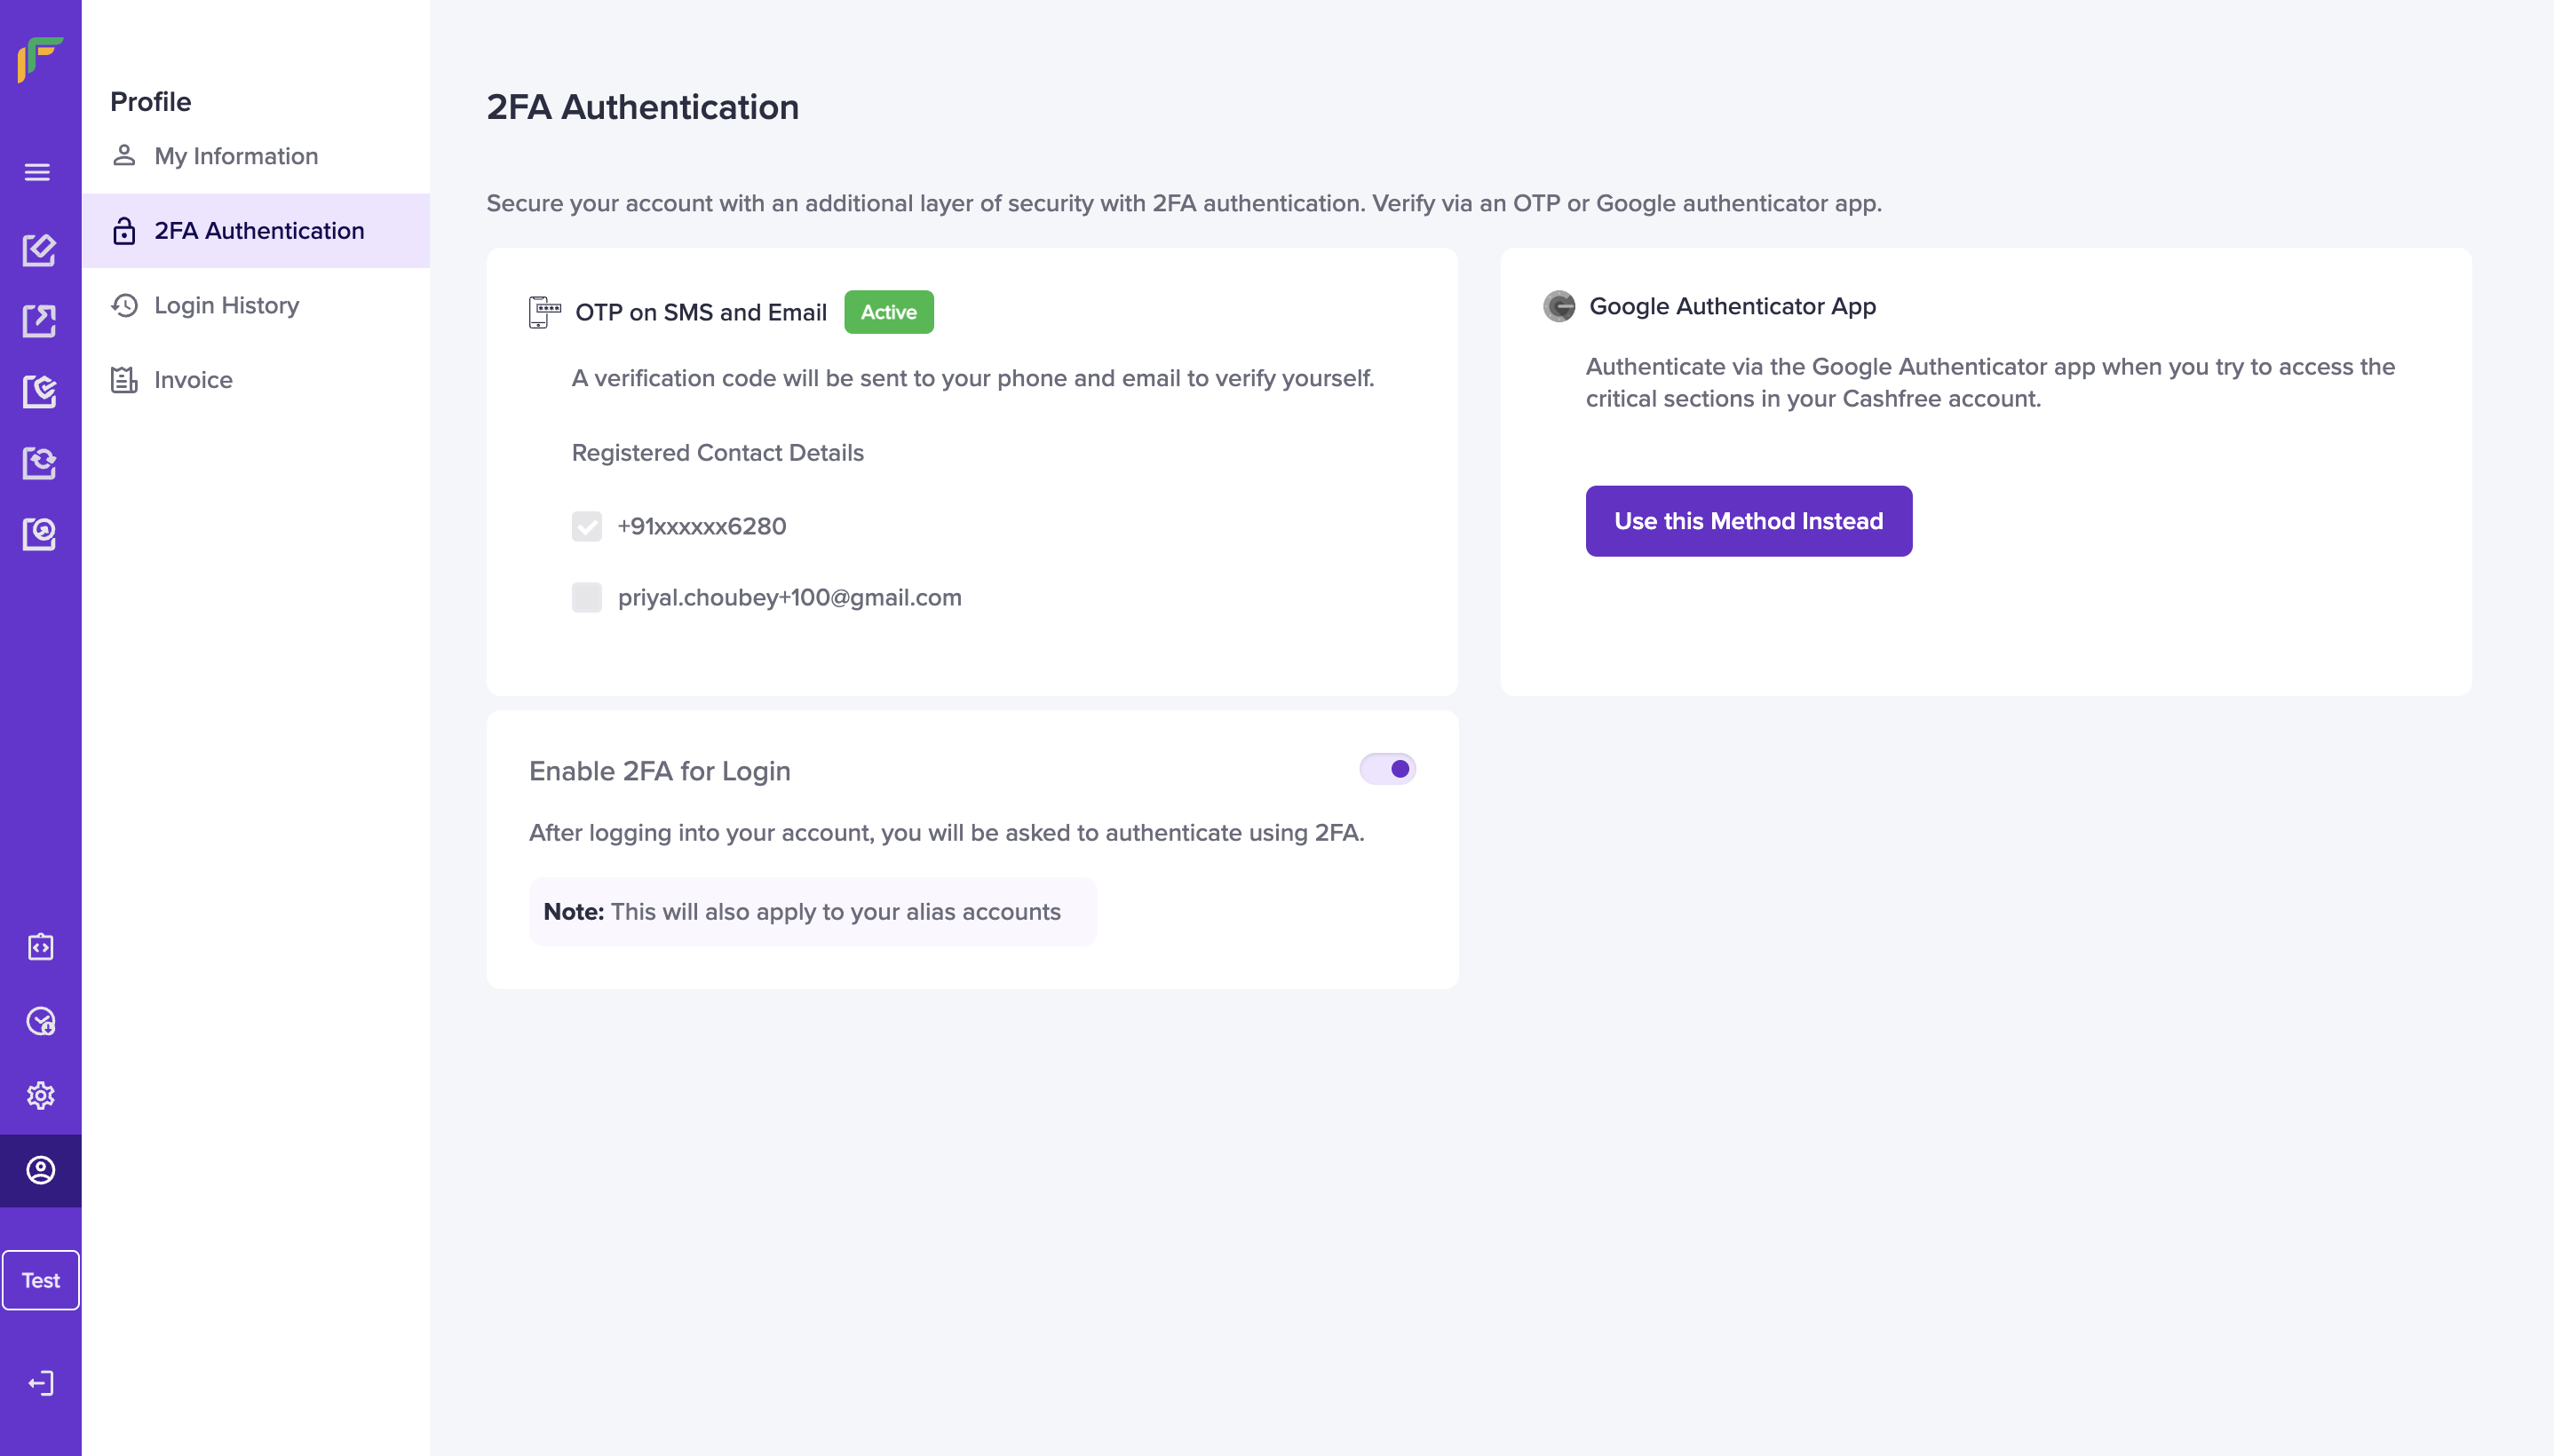
2FA Authentication
Communications
Communications lets you manage the notification preference for various events.
Create/Edit Preference
To set notification preference for new email or to edit the preference for existing email, follow the below instructions:
- Click on Manage Notifications and select Email Notifications.
- Enter the email address to set notification preferences and click Next.
- Choose which notifications should be delivered to the entered email.
- Click Submit to save the preference.
Create Notification Preference
Providing consent to receive notifications
Whenever an email is configured to receive notifications for particular event, e.g., API Updates, a confirmation email is sent to the recipient's email address.
Recipient can click on Confirm button to provide their consent. Once consent is provided, recipient will start getting notifications about those particular events.
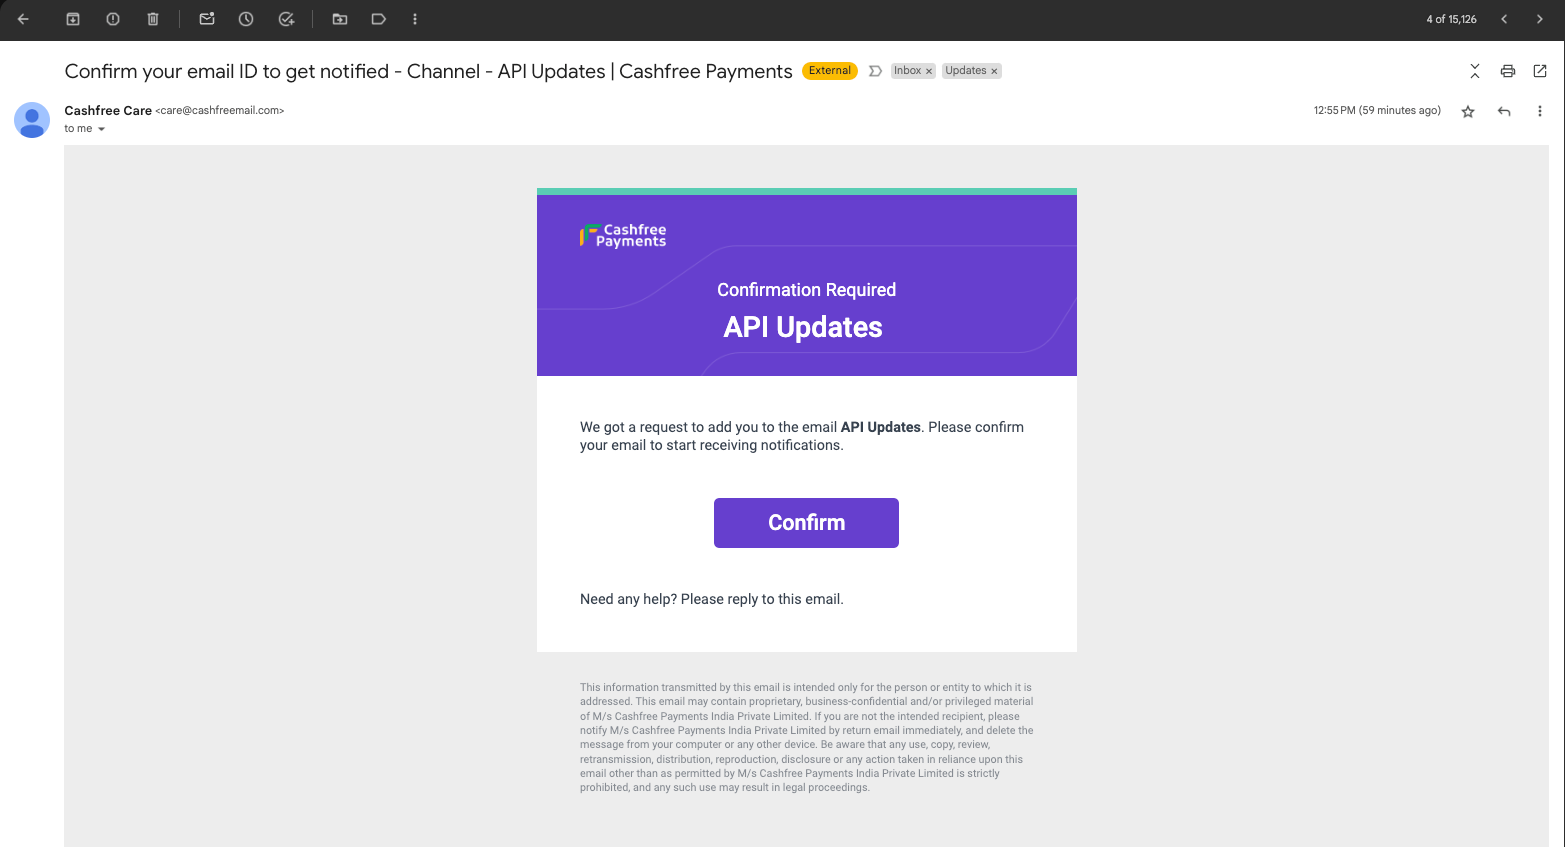
Confirmation email
Checking recipient's consent status in dashboard
To check whether a recipient has provided their consent to receive notifications or not, follow these instructions:
- Click on any particular category card
- Hover over any particular email to see the status.

Viewing notification preference
Login History
Login History displays information regarding successful logins by users added to your Cashfree Payments account.
The search and filter options allow you to categorise and view specific login history by users as mentioned below. You can also filter the cards based on a specific period.
- Use the follow filters to search for specific login history:
- All Time - Use this drop-down menu to set the date range.
- Search & Filter - Use this drop-down menu to set the search filter.
- Search - Use this drop-down menu to determine the search value and enter the value in the field. For example, if you choose Email ID, enter the specific email ID in the field.
-
Select Apply.
-
The results display in the form of a grid.

Login History
Invoice
The monthly invoices generated for your Cashfree Payments account is available in the Invoice section. You can download the invoices for your future reference.

Invoices
Subscribe to Developer Updates
Updated 4 months ago