Invoices
As of October 2022, e-invoicing is compulsory for all business to business transactions for businesses with an annual turnover exceeding 10 crore rupees. Cashfree Payments provides you with an interface as a solution to process your accounts payable. You can now pay your vendors by uploading invoices in bulk or one at a time.
In this article, we will cover the following topics:
Upload a Single Invoice
Follow the instructions below to upload a single invoice:
- From the Payouts dashboard, click Invoices.
- Click the Add Invoice drop-down list, and click Single Invoice.
- Add Invoice pops up, fill in the following information under Invoice Details and click Next.
- Invoice Number - Enter the invoice number.
- Beneficiary ID - Choose a beneficiary ID from the drop-down list.
- Invoice Date - Enter the date of the invoice. You can click the Calendar icon to select a date.
- Due Date - Enter the date when the invoice is due. You can click the Calendar icon the select a date.
- Description - Enter a description if required.
- Fill in the following information under Amount Details and click Next.
- GST Category - Use the radio button to choose if the invoice comes under IGST or CGST.
- Sub Total Amount - Enter the sub total amount in this field.
- GST Amount - This is an optional field. Enter the GST amount in this field.
- TDS Amount - This is an optional field. Enter the TDS amount in this field.
- Upload Invoice - Use this button to upload the invoice.
- Click Pay Now to proceed.
Add and Pay Invoice
Save Invoice and Pay Later
The Save Invoice button lets you save the information.
- Review the added vendor and amount information that is now displayed in the popup.
- Fill in the following information:
- Fund Source - Choose from which fund source you want to pay the invoice from the drop-down list.
- Transfer ID - Enter a transfer ID to identify the transfer. It is an optional field.
- Remarks - Enter any remarks if required.
- Click Send for Approval.
Upload Bulk Invoices
Follow the instructions below to upload bulk invoices:
- From the Payouts dashboard, click Invoices.
- Click the Add Invoice drop-down list, and click Bulk Invoices.
- The Add Bulk Invoices popup displays.
- Click Download sample file and enter the invoice details as per the template in the file.
- Use the Choose a file button to upload the file with the entered invoice information.
- Use the Choose a file button under Consolidated Invoice File to upload the consolidated zip file with the individual invoices.
- Click Add Invoices.
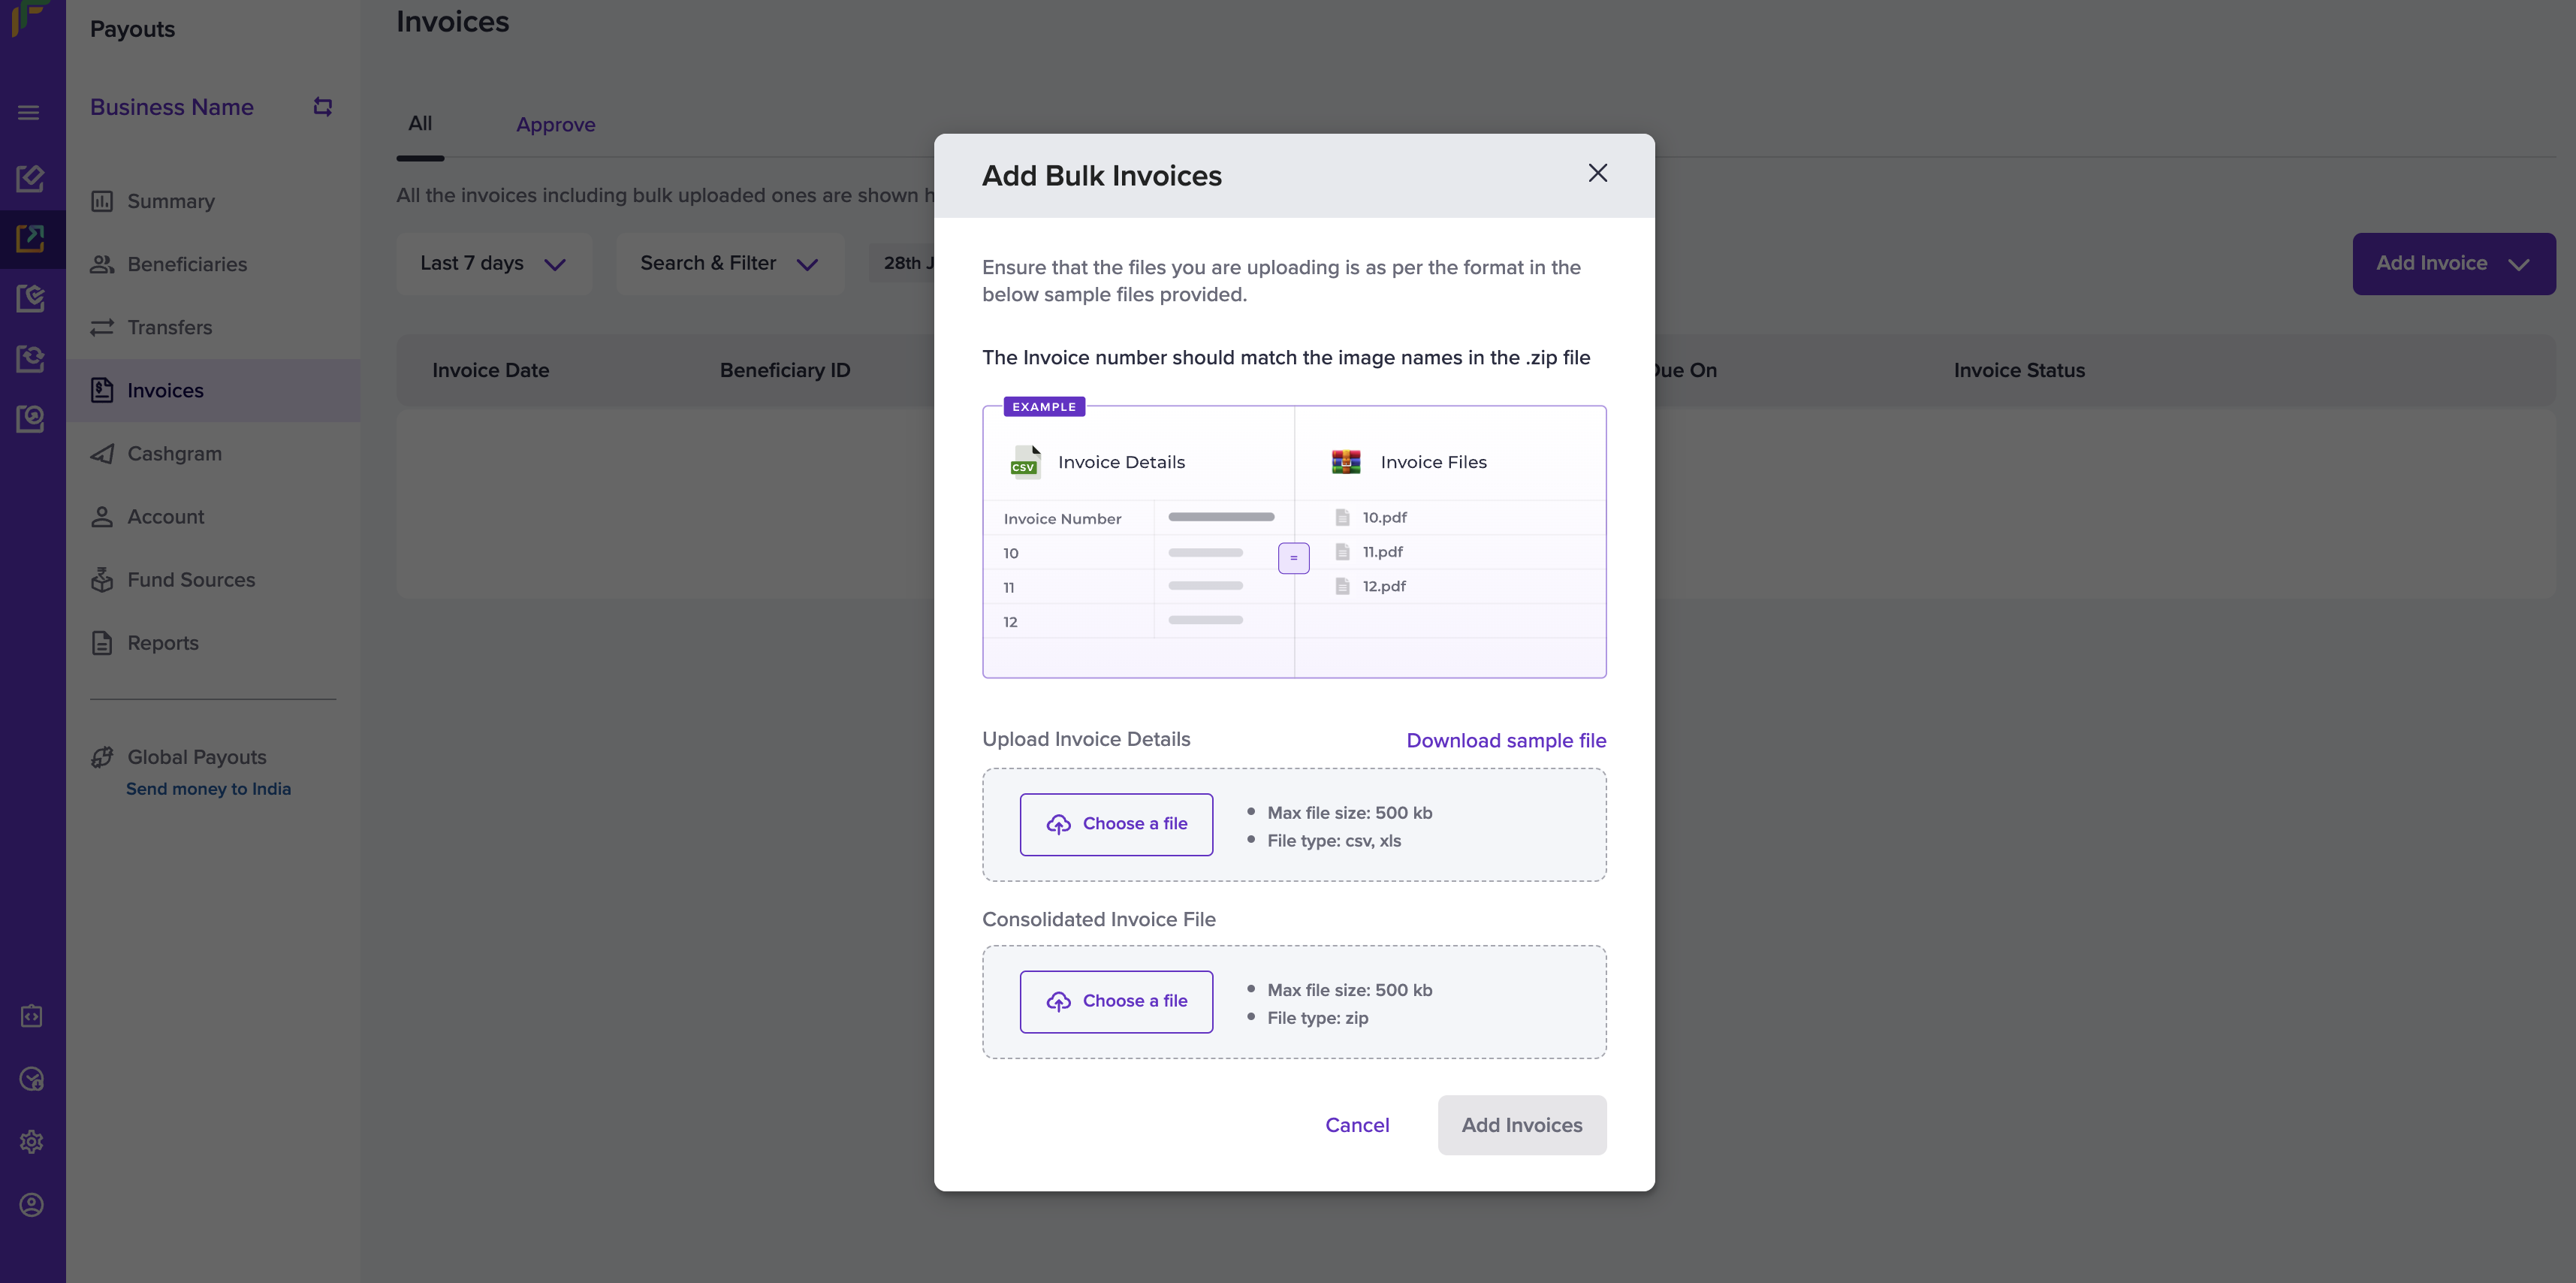
Add Bulk Invoices
Approve Invoices
You can assign your aliases to perform different roles with respect to viewing, initiating, and approving invoices. Follow the instructions below to approve the uploaded invoices:
- From the Invoices page, click the Approve Invoices tab.
- You can view the list of invoices that needs approval in the page.
- Use the checkboxes the select or deselect invoices and click Approve to approve the invoices for payments.

Approve Invoices
The assigned Approver can approve or reject an invoice. Click here to learn about Initiator-Approver roles.
Pay Invoices
Once the Approver approves the updated invoices, you can pay the invoice from the dashboard. Follow the instructions below to pay an approved invoice:
- From the Invoices page, use the search and filter options to filter only the paid invoices.
- Check the box to select an invoice or multiple invoices, and click Pay Invoices.
- In the Pay Invoice popup, fill in the following information:
- Show Amount Breakup - Click the dropdown to view the breakup of the total payable amount.
- Fund Source - Choose from which fund source account you want to pay the invoice(s) from the dropdown list.
- Payment Method - Choose the payment method from the dropdown list.
- Batch Name - Enter the name of the batch upload.
- Remarks - Enter any remarks. This is an optional field.
- Click Pay to pay the invoice(s).
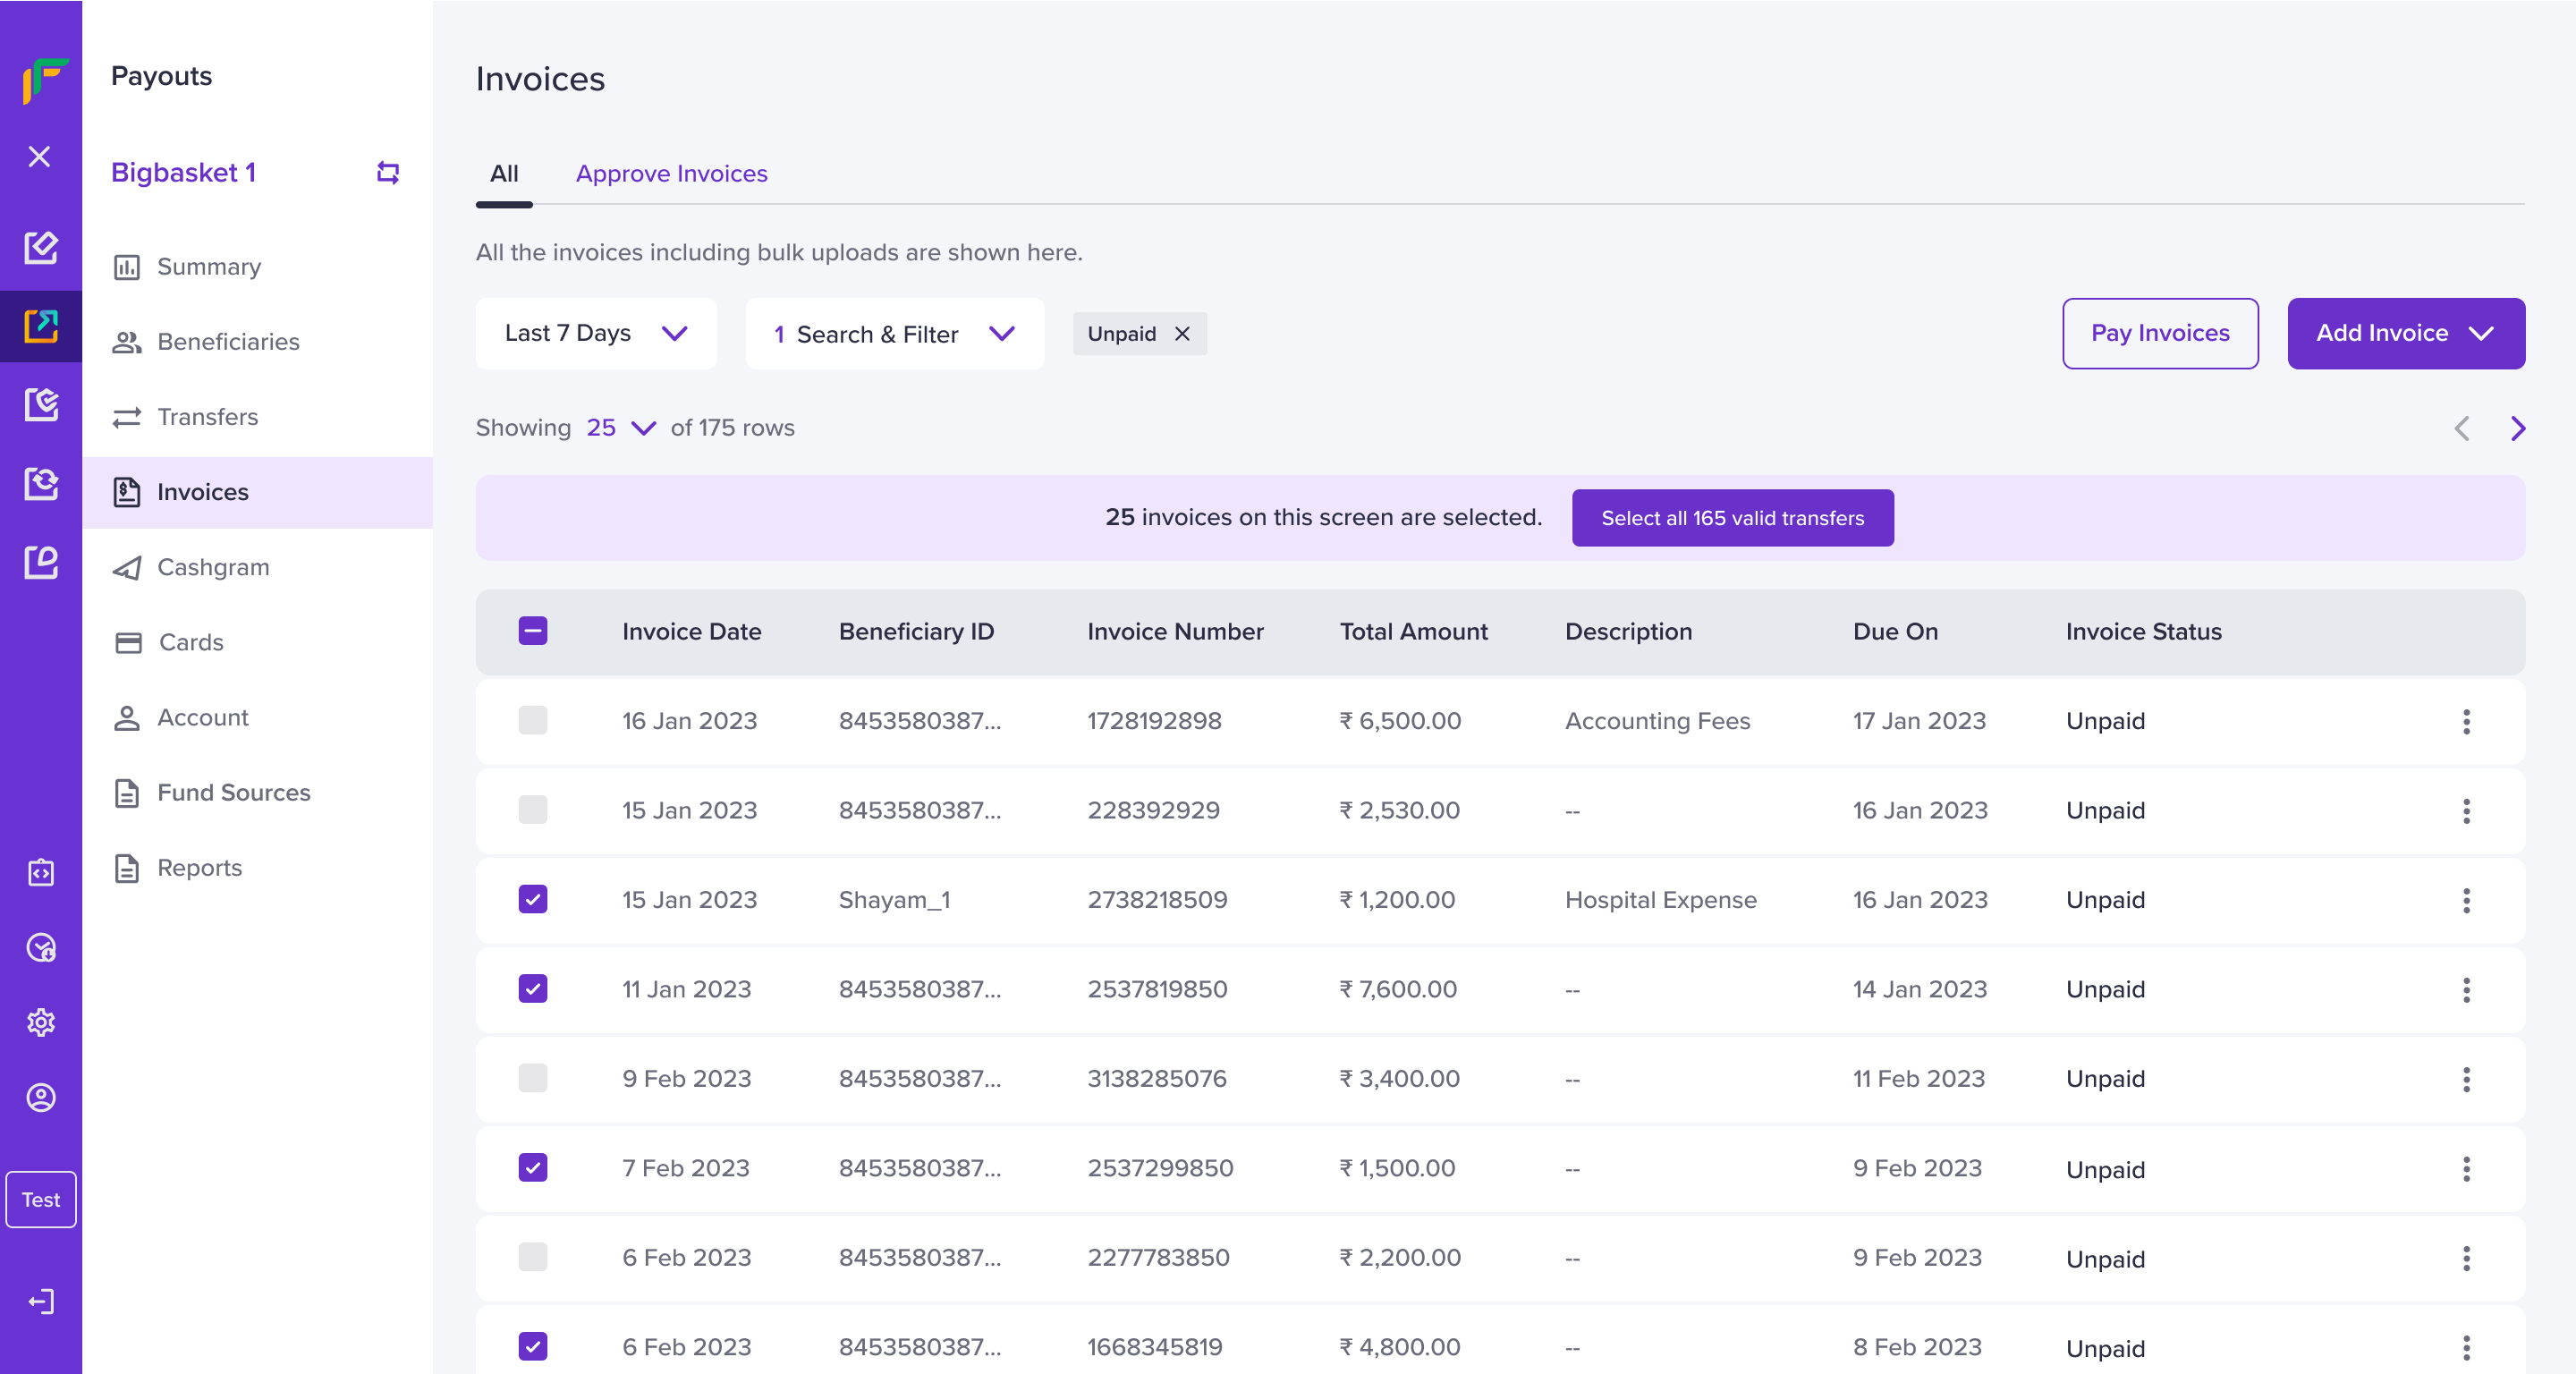
Pay Invoices
Updated about 1 year ago