Embedded Payment Gateway Integration
In this section, you will learn in detail about how to integrate with Embedded Payment Gateway.
Cashfree Payment Gateway accepts domestic and international payments, and supports a wide range of payment options. Integrate Embedded Payment Gateway to easily enable your businesses to collect payments from their customers. Use our pre-built checkout integration, or customise the payment flow as per your requirements. You can also use our SDKs to easily integrate your mobile applications with our gateway. You can easily collect payments using popular Payment Methods like Cards, UPI, Netbanking, Wallets, PayPal, EMI, and Pay Later options.
You can build and try out the integration in the sandbox environment. Click here to know more.
Partner API Keys
To get started with Partner API requests, you must first generate partner API keys from your Partner Dashboard.
- Go to Partner Dashboard > Developers section.
- In the Developers Section, click Generate API Key.
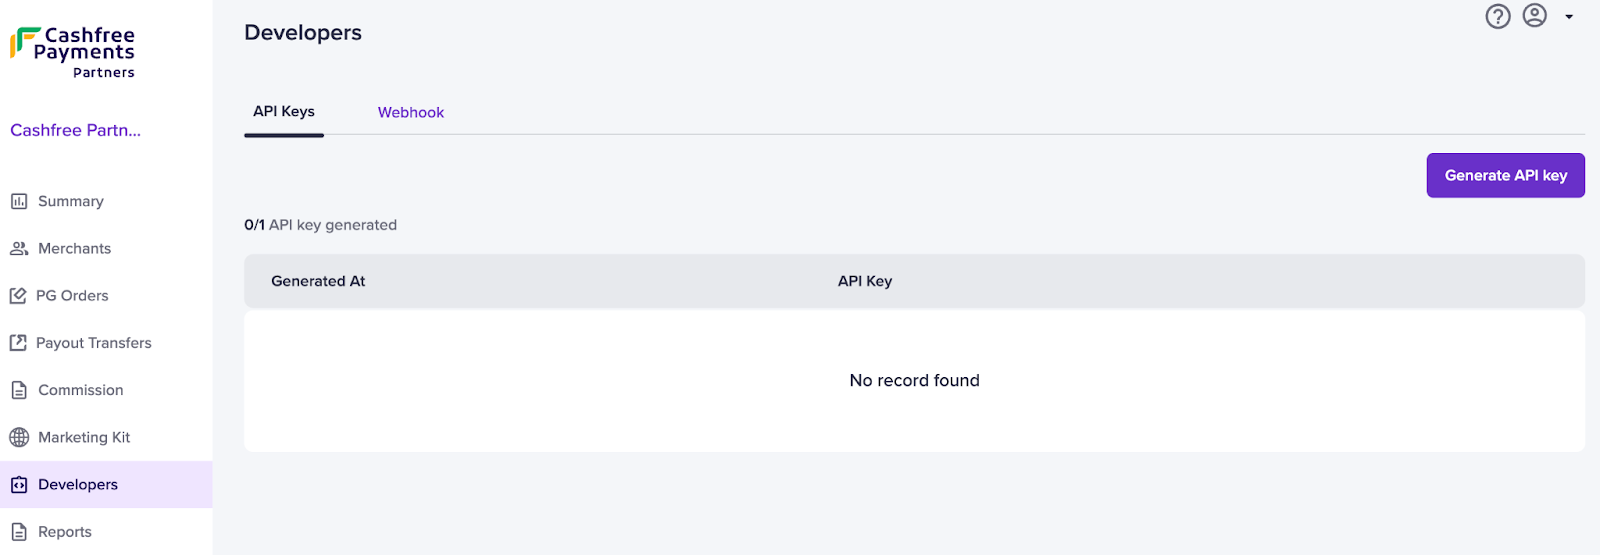
Generate API Key
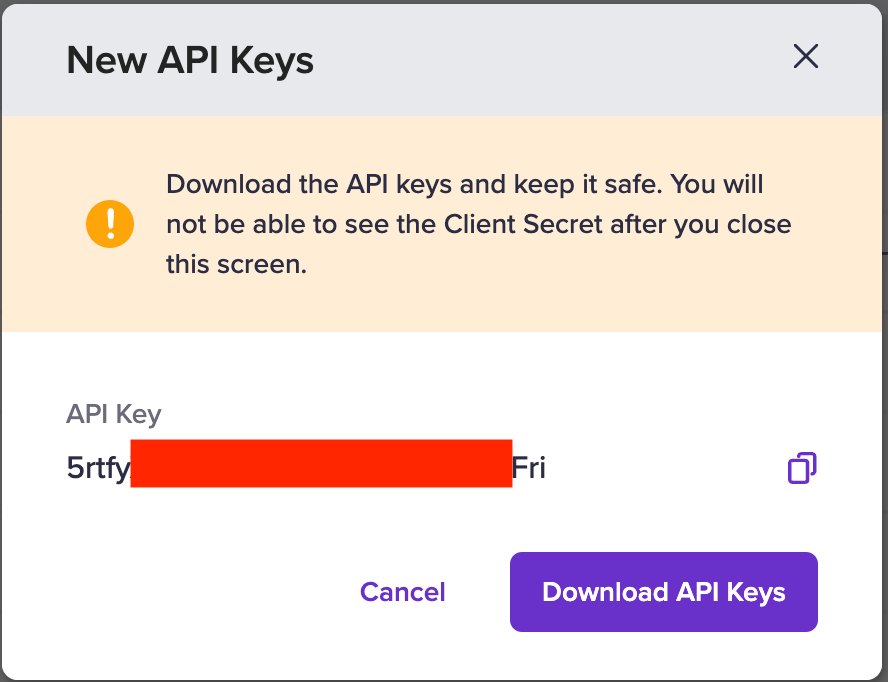
Download API Keys
- Copy and download the API keys for all API requests and future reference.
Payment Gateway APIs
All the Payment Gateway APIs that you find in this document can be used using partner authentication for your merchants.
Partner Authentication
To use Payment Gateway APIs for Partner Auth integration, x-client-id and x-client-secret headers will not be used anymore, please use the following headers:
- x-partner-apikey: This is the common API Key generated and unique for each Partner.
- x-partner-merchantid: This is the unique merchant ID for each merchant associated with the Partner. To know the merchant ID, go to Partner Dashboard > Merchants section, and copy the Merchant ID of the merchant you want to transact with.
Payment Gateway SDKs
We support the following SDK integrations -
Partner Webhooks
To configure partner webhook,
- Go to Partner Dashboard > Developers > Webhooks.
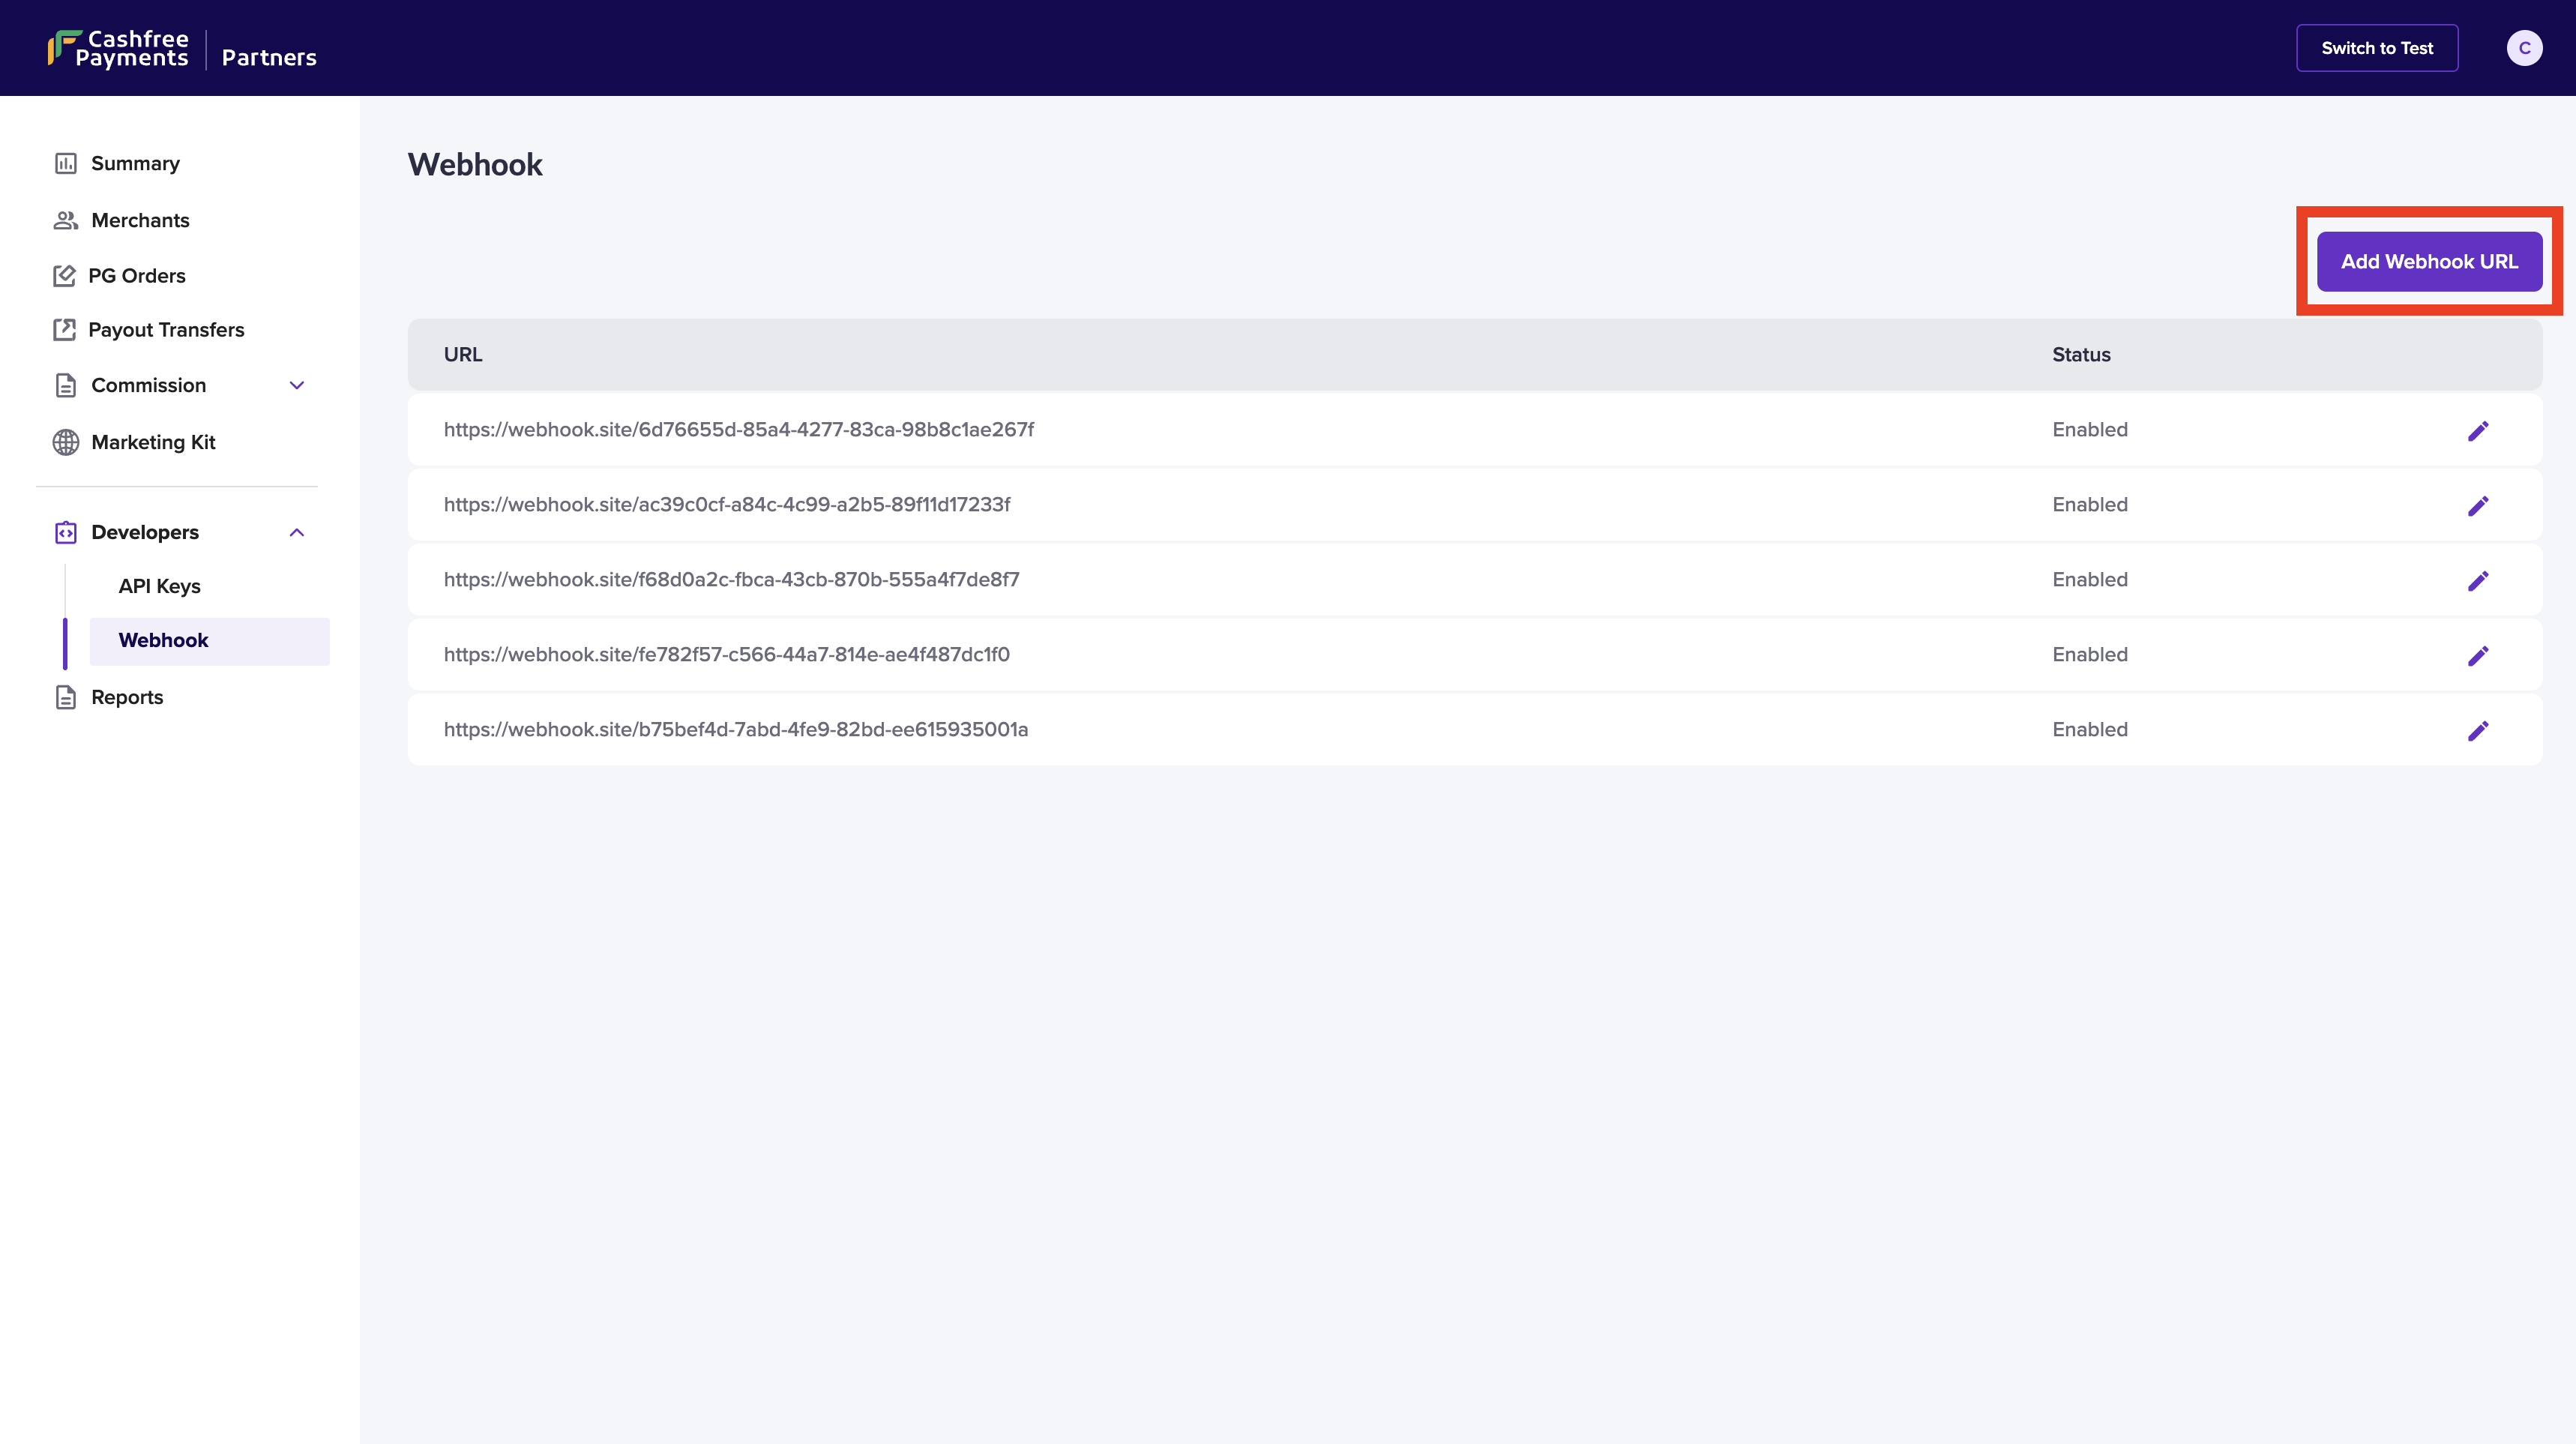
Configure Webhooks
- Click Add Webhook URL and enter the URL where you want to receive the updates.
- Select the events for which you want to configure the webhooks to receive updates, and click Add Webhook.
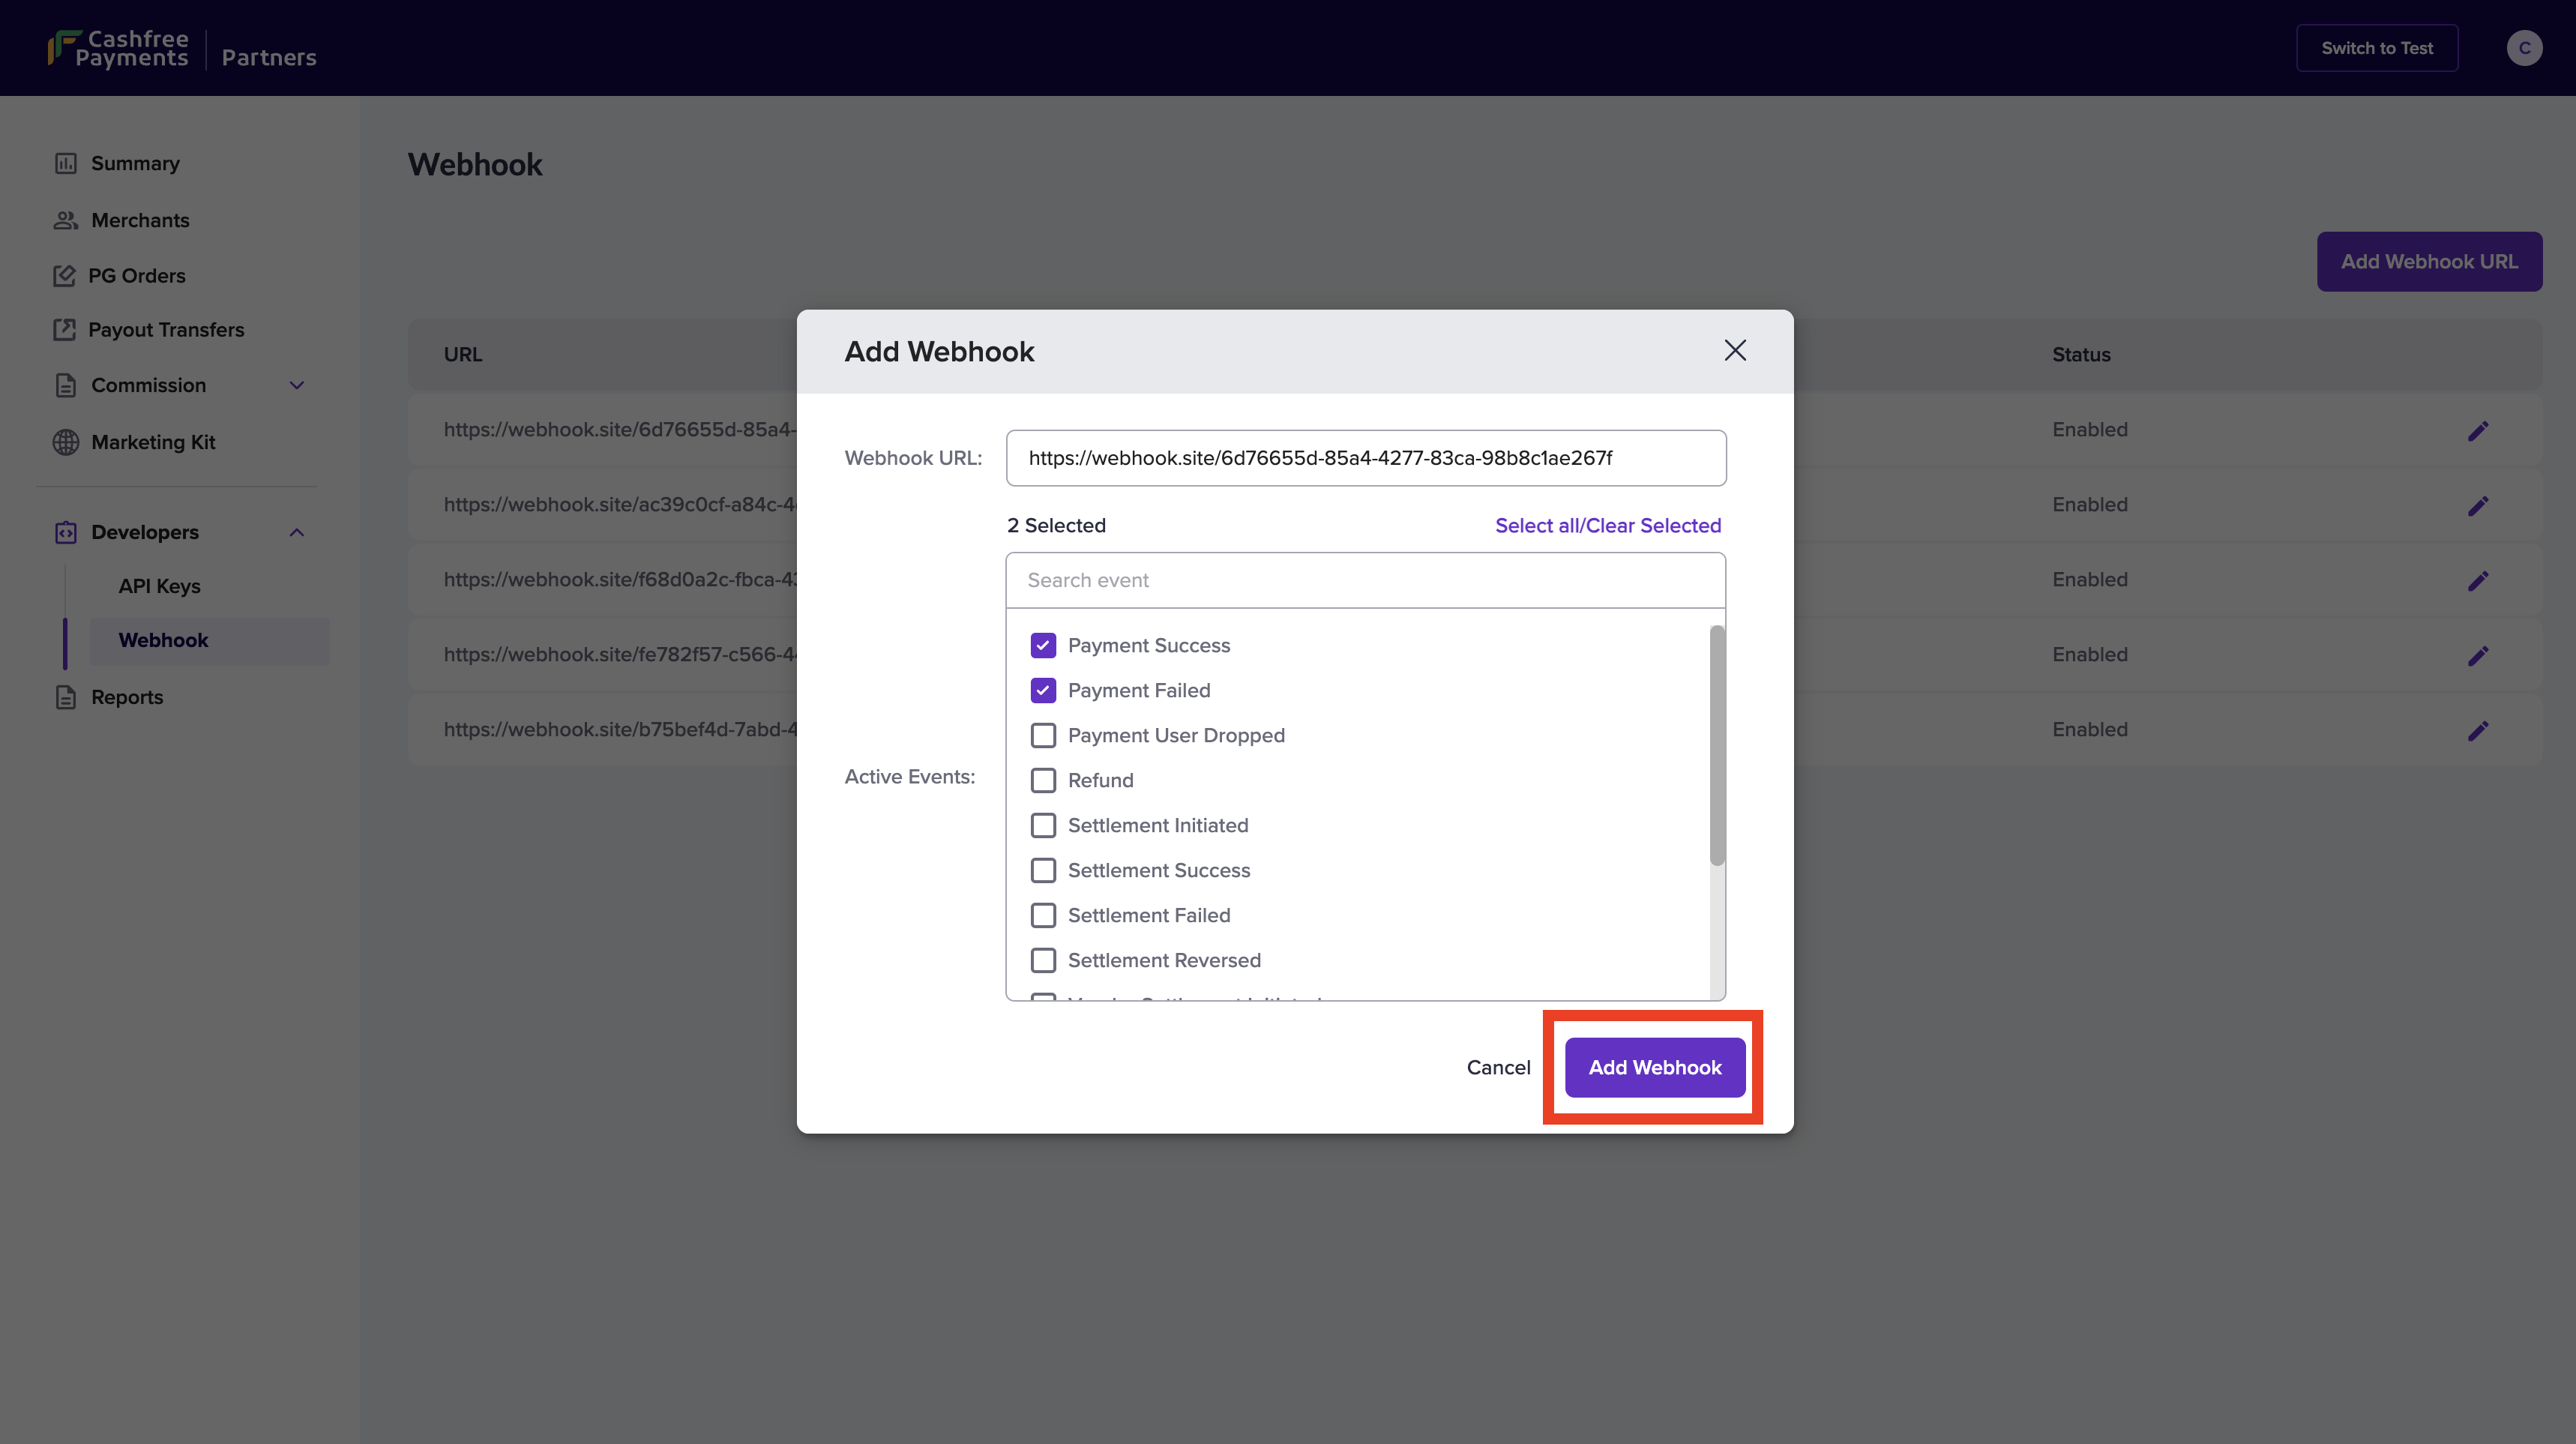
- Your webhook is now added successfully. You can also edit the added webhook using the edit option from the Webhook homepage.
Notifications will be sent to your configured endpoint as a POST request with the body containing the various parameters specifying the details of each event. Each request contains an event parameter that identifies its type.
We support webhooks in both encoded and JSON formats.
How to use Cashfree Payments webhooks?
1. Create an endpoint URL
To receive event notifications, you need to create an endpoint in your server that can accept requests from Cashfree Payments. The endpoint URL can be HTTP in your local machine for testing purposes while developing. However, it should be HTTPS for the production environment.
You receive webhook event notifications on the specified URLs. You can use one URL to handle different event types at once or specify individual URLs for specific events.
2. Select events to subscribe
You can configure webhooks to receive notifications for the following events:
Note:
An additional object merchant is sent in partner webhook payload to identify the merchants.
{
  "merchant": {
    "merchant_id": {{merchant identifier}}
  },
  "data": {
    ...
  },
  "event_time": ...,
  "type": ...
}
3. Test webhooks
Test your webhooks in the sandbox environment before going live to check payloads and integration. Configuring your webhooks, from the dashboard, in the test environment and events triggered in test transactions will send webhooks to the configured endpoint.
You can create endpoint URLs and test webhooks using tools like webhook.site or create a tunnel to your localhost using tools like ngrok.
4. Verify Webhooks
It is a best practice to verify webhooks so that your server is not manipulated by other requests acting as Cashfree webhooks. Use webhook signatures to verify Cashfree Payments webhooks and perform further actions only after verifying the webhook.
Webhook Signature
Use the signature to verify if the request has not been tampered with. To verify the signature at your end, you need your Cashfree Payment Gateway secret key along with the payload.
- The timestamp is present in the header
x-webhook-timestamp. - The actual signature is present in the header
x-webhook-signature.
The signature creation logic is as below:
timestamp := 1617695238078;
signedPayload := $timestamp.$payload;
expectedSignature := Base64Encode(HMACSHA256($signedPayload, $partnerApiKey));
Click here to check the sample codes.
Use $partnerApiKey instead of $merchantSecretKey to verify the webhooks.
Sometimes you may receive the same webhook more than once. It is recommended to ensure that your implementation of the webhook is idempotent. Also, your endpoint should return a 2xx response for a successful webhook delivery from our end. Please ensure the response is quick before performing other logic, which could cause a timeout.
Updated 12 months ago