Edit Vendor Details
Learn how to update the vendor details.
While adding vendors, if you have specified incorrectly vendor details or missed adding some information, you can modify it using the Edit Vendor feature on the product dashboard or use the Update Vendor Details API.
Vendor Status
Once you have added a vendor, it will go through various stages. They are mentioned in the table below.
| Vendor Status | Description |
|---|---|
| In Bene Creation | This status indicates that the beneficiary creation is in process. During this process, we will add beneficiary accounts through our banking partner to process future transfers. |
| Documents Not Shared | This status indicates that you have submitted the KYC details without documents. Cashfree Payments marks the status as Documents Not Shared. |
| In Review | This status indicates that your documents are under review. |
| Active | This status indicates that the vendor account is active. |
| On Hold | The On-hold status is updated by the Cashfree Payments team. The onboarding team has put the account On-hold because either the document is not available or the documents shared are insufficient. |
| Deleted | This account indicates that your vendor account is deleted. |
| Blocked | This status indicates that your vendor account is blocked. You can later unblock if you intend to resume the vendor settlements. |
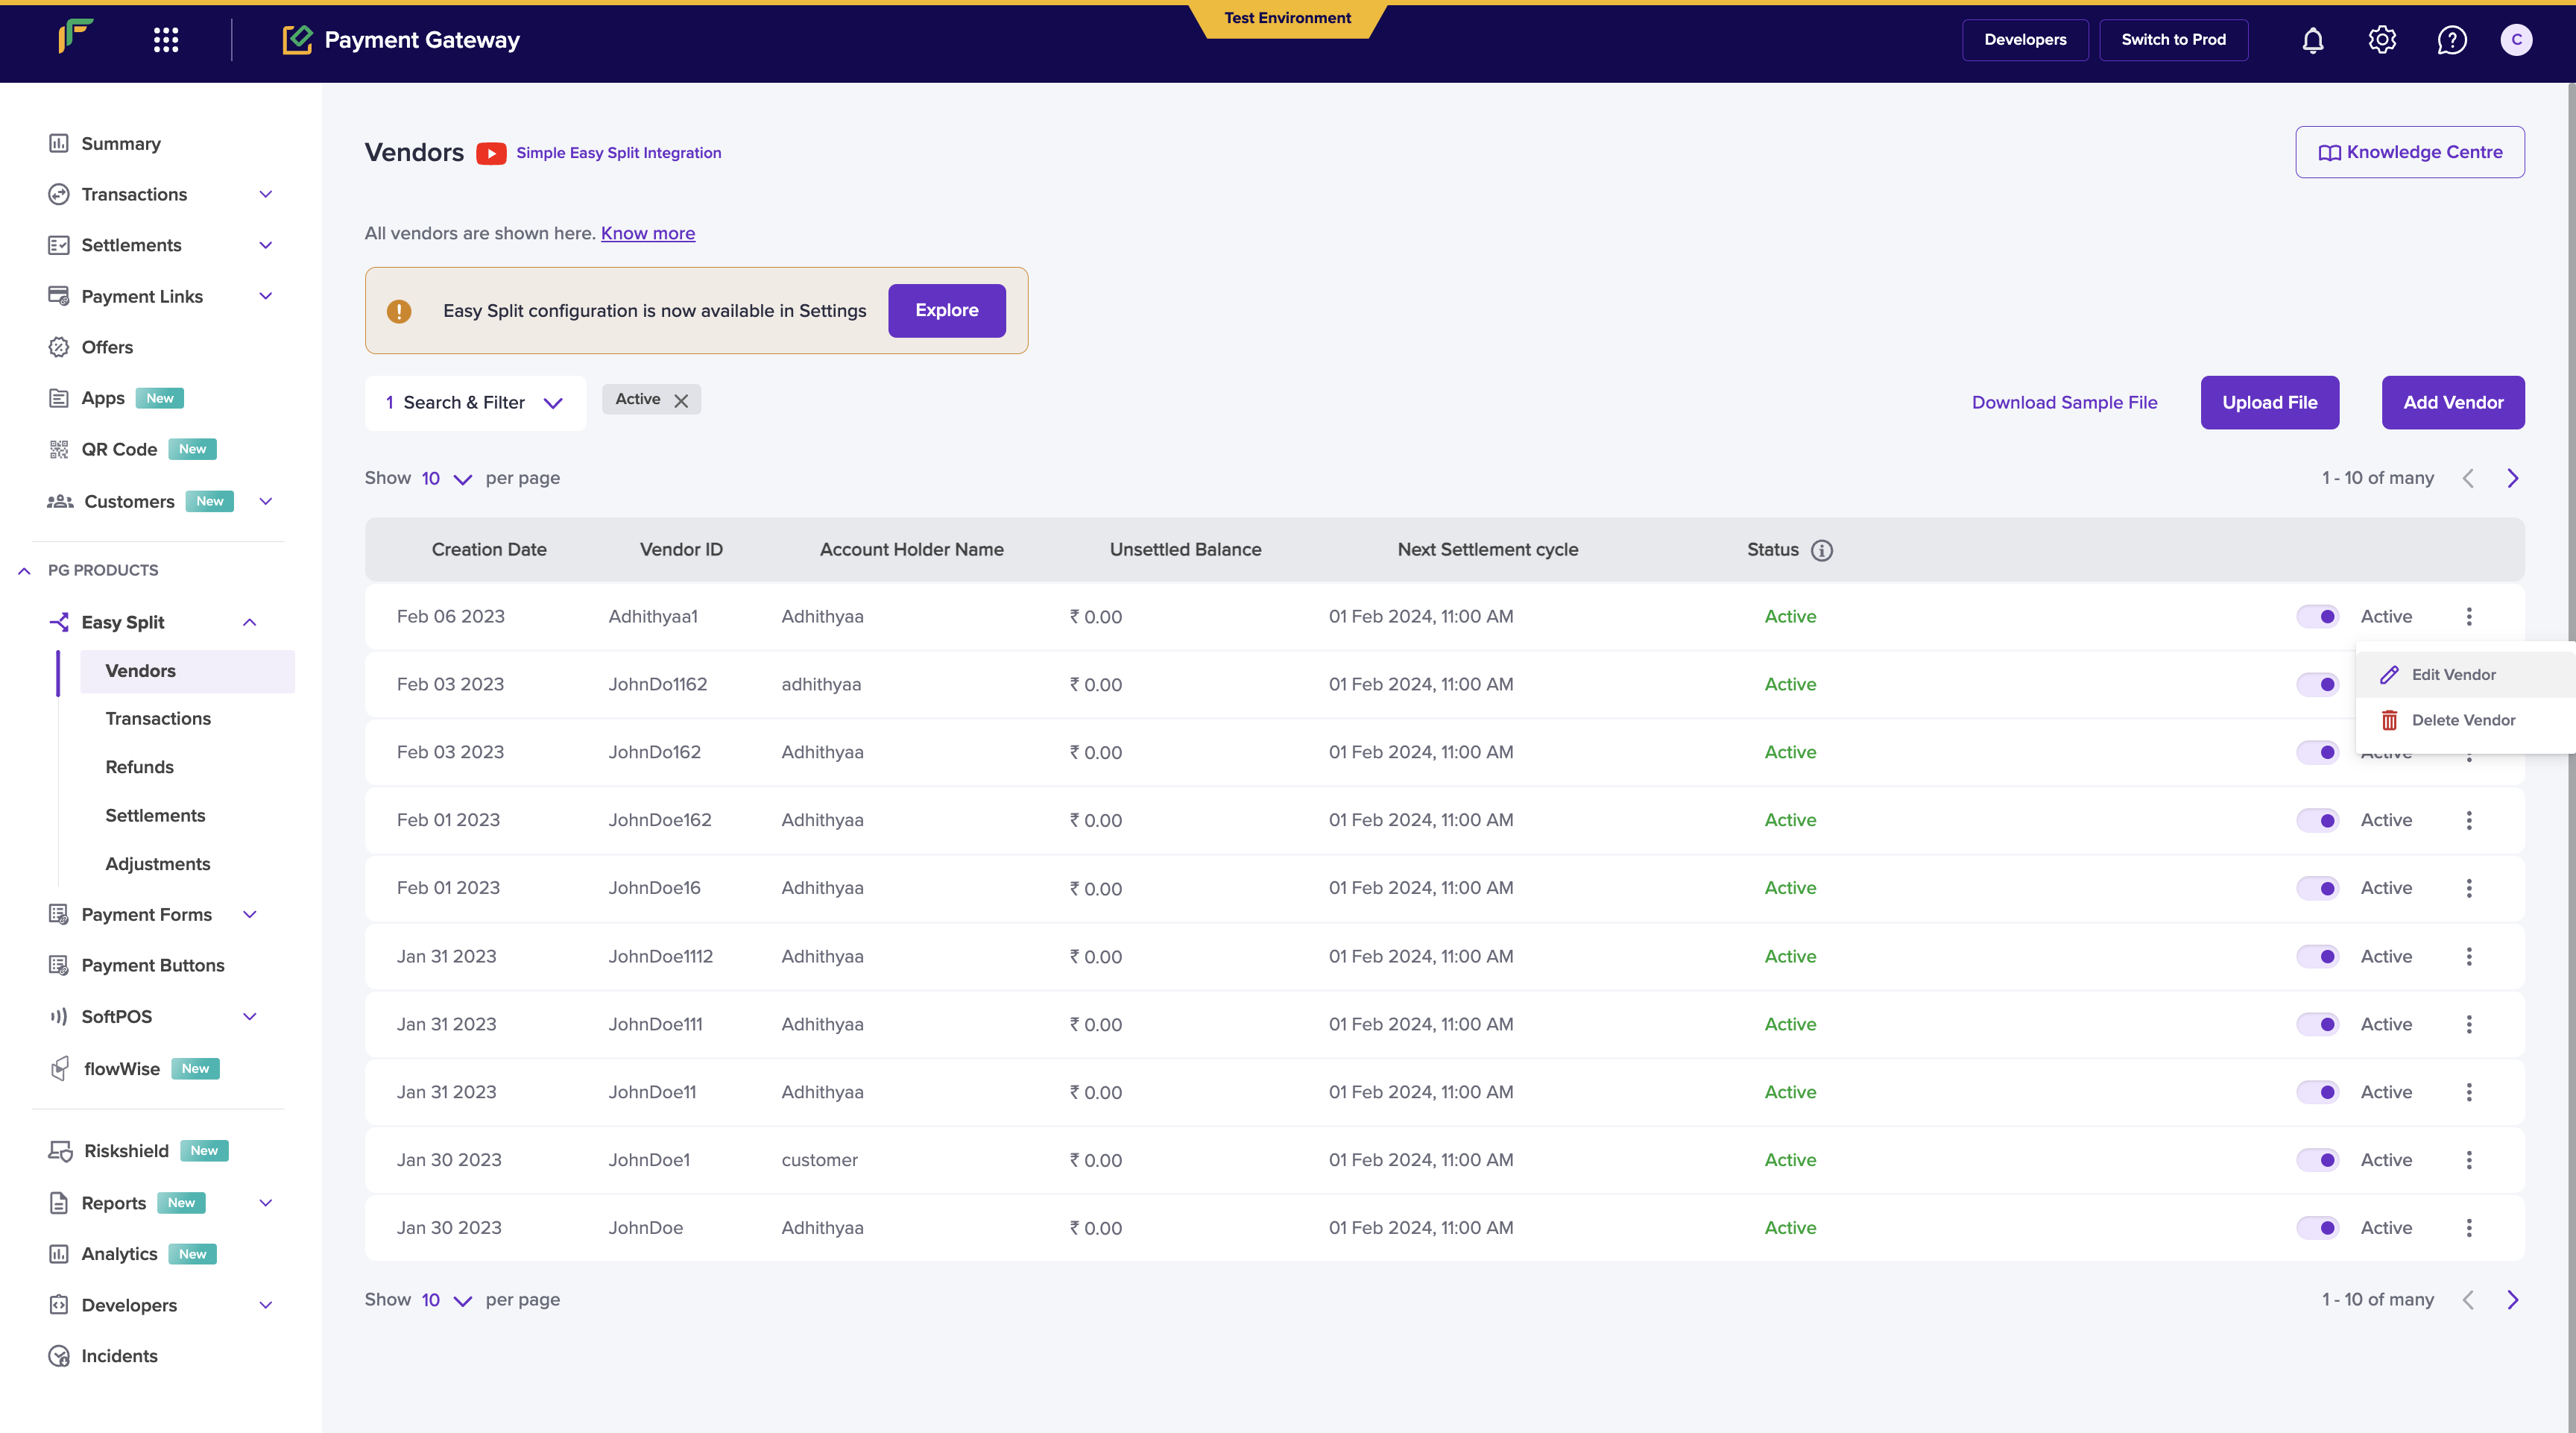
To edit the details of the vendor you have already added,
-
Go to Payment Gateway Dashboard > Easy Split - Vendor.
-
Click the ellipsis icon on the vendor you want to make changes to and select Edit Vendor.
Edit Vendor Details
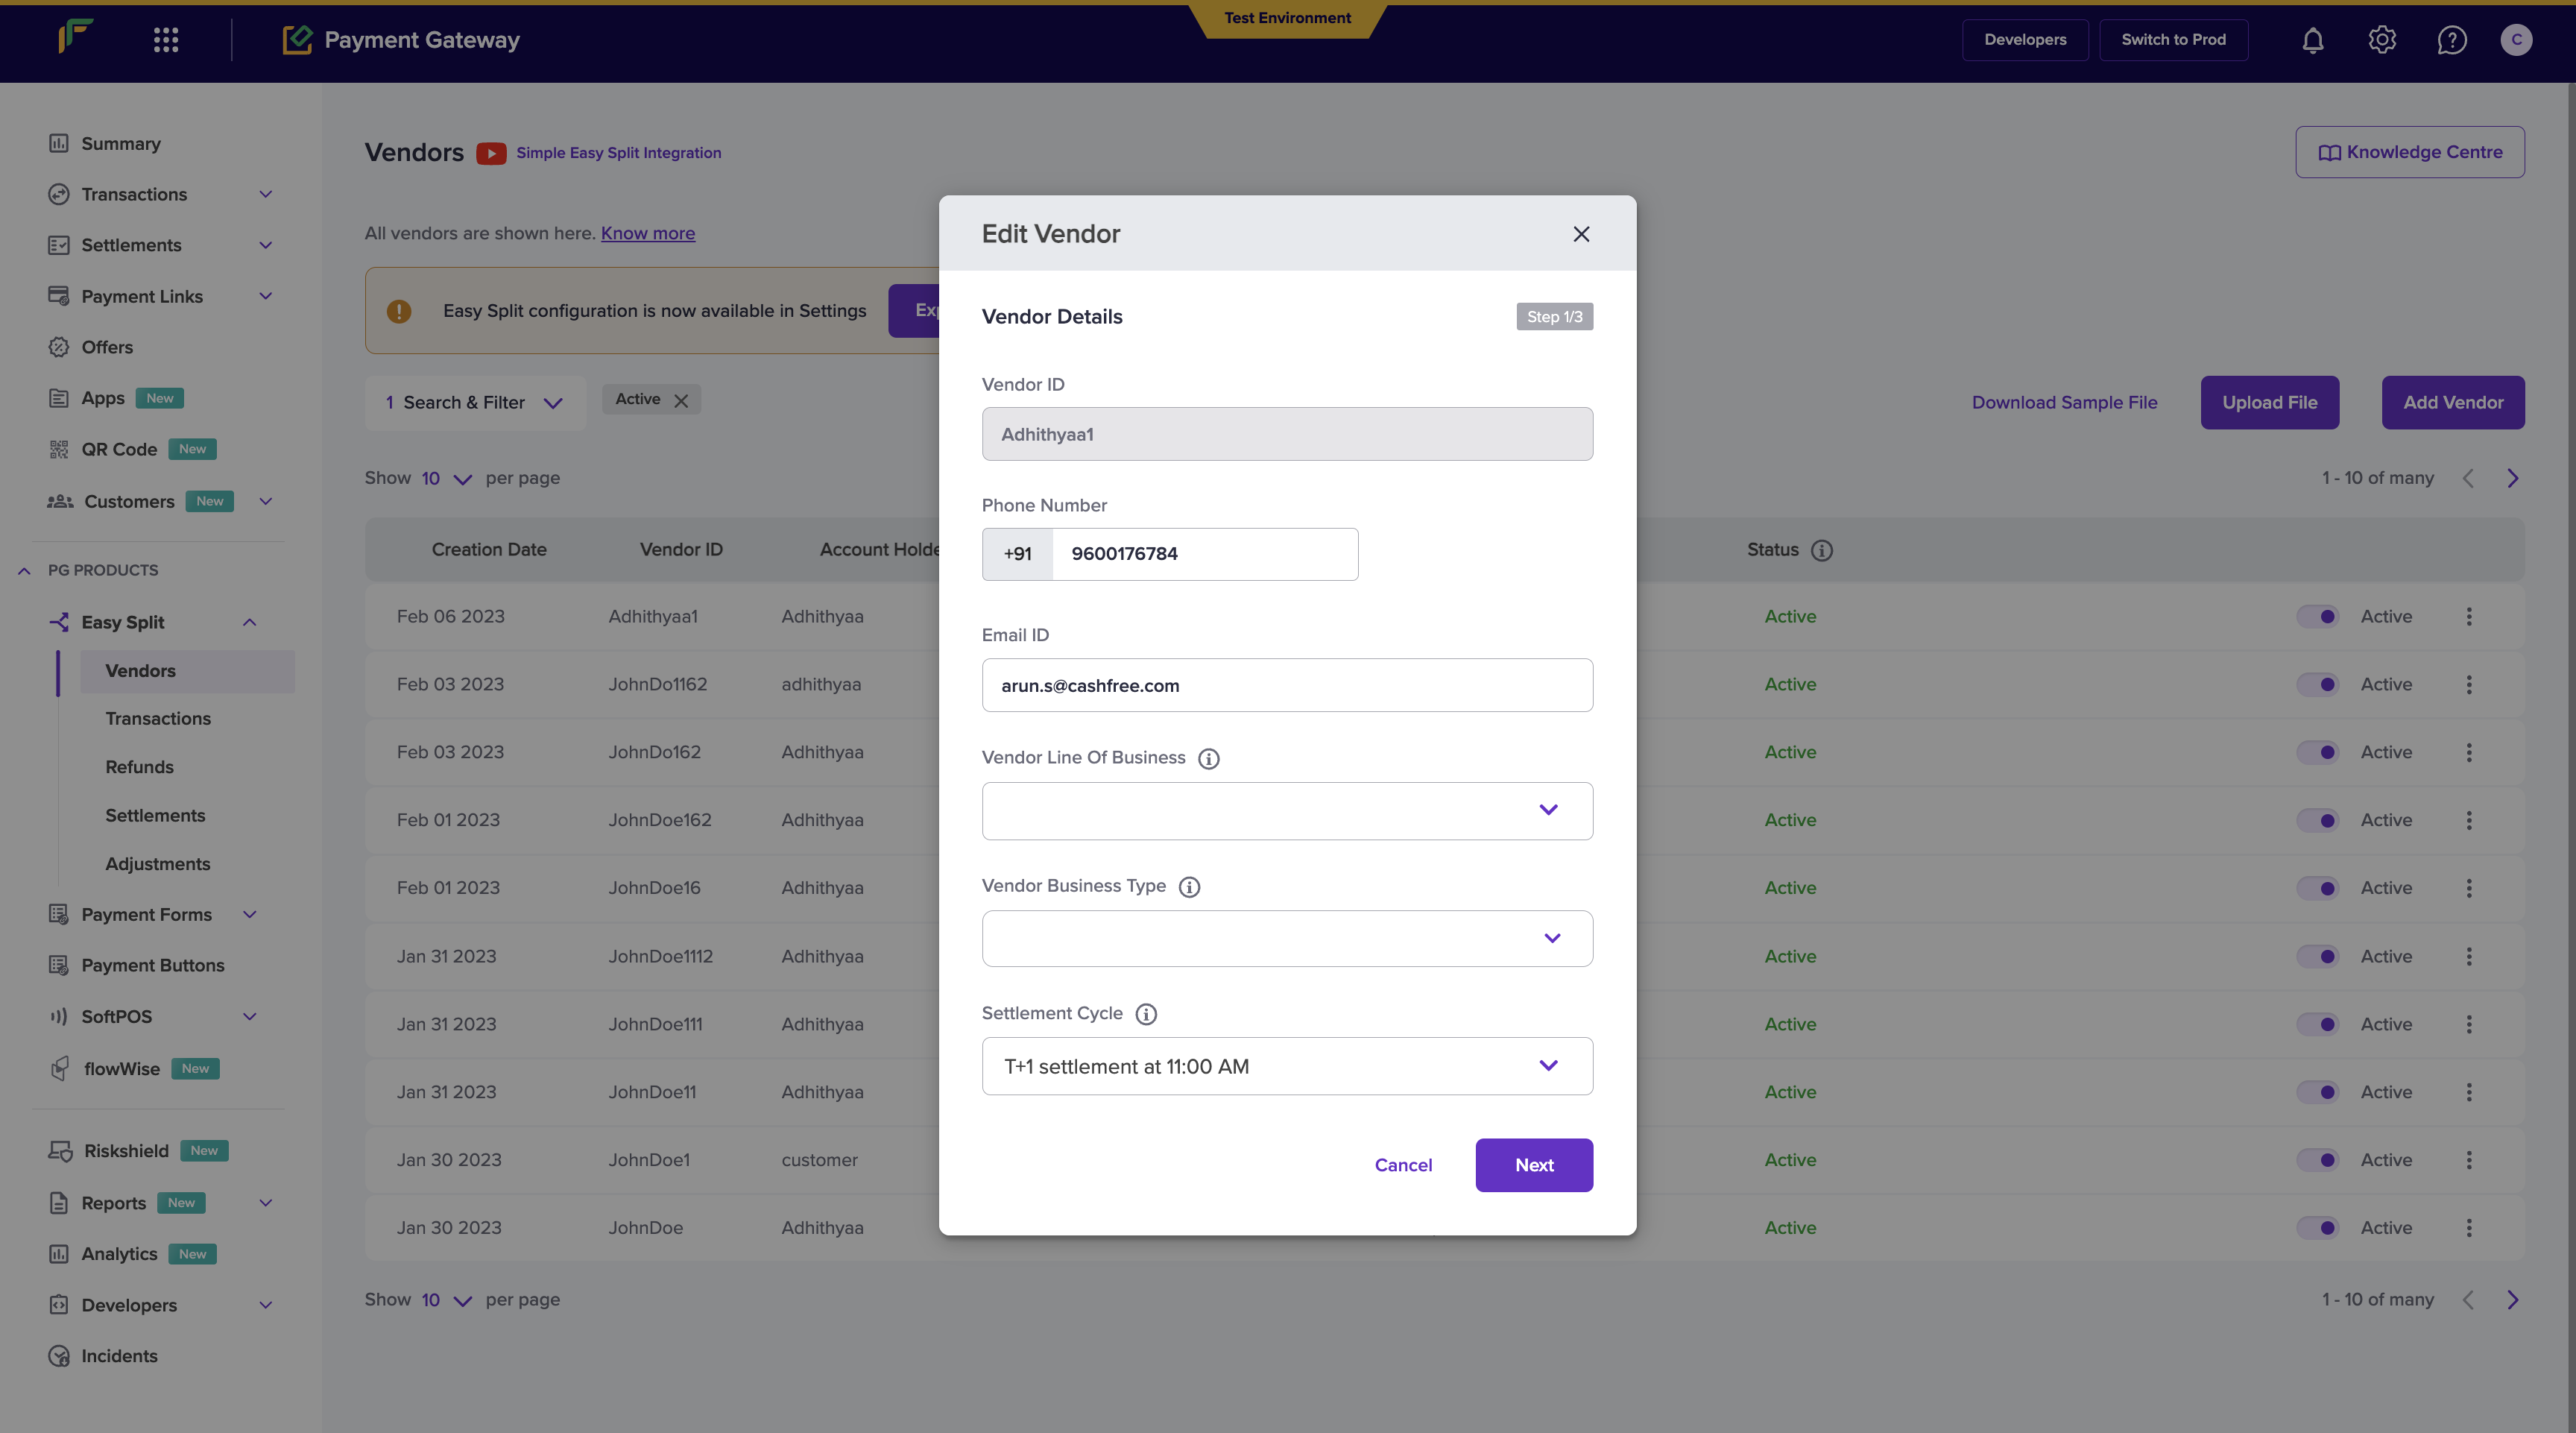
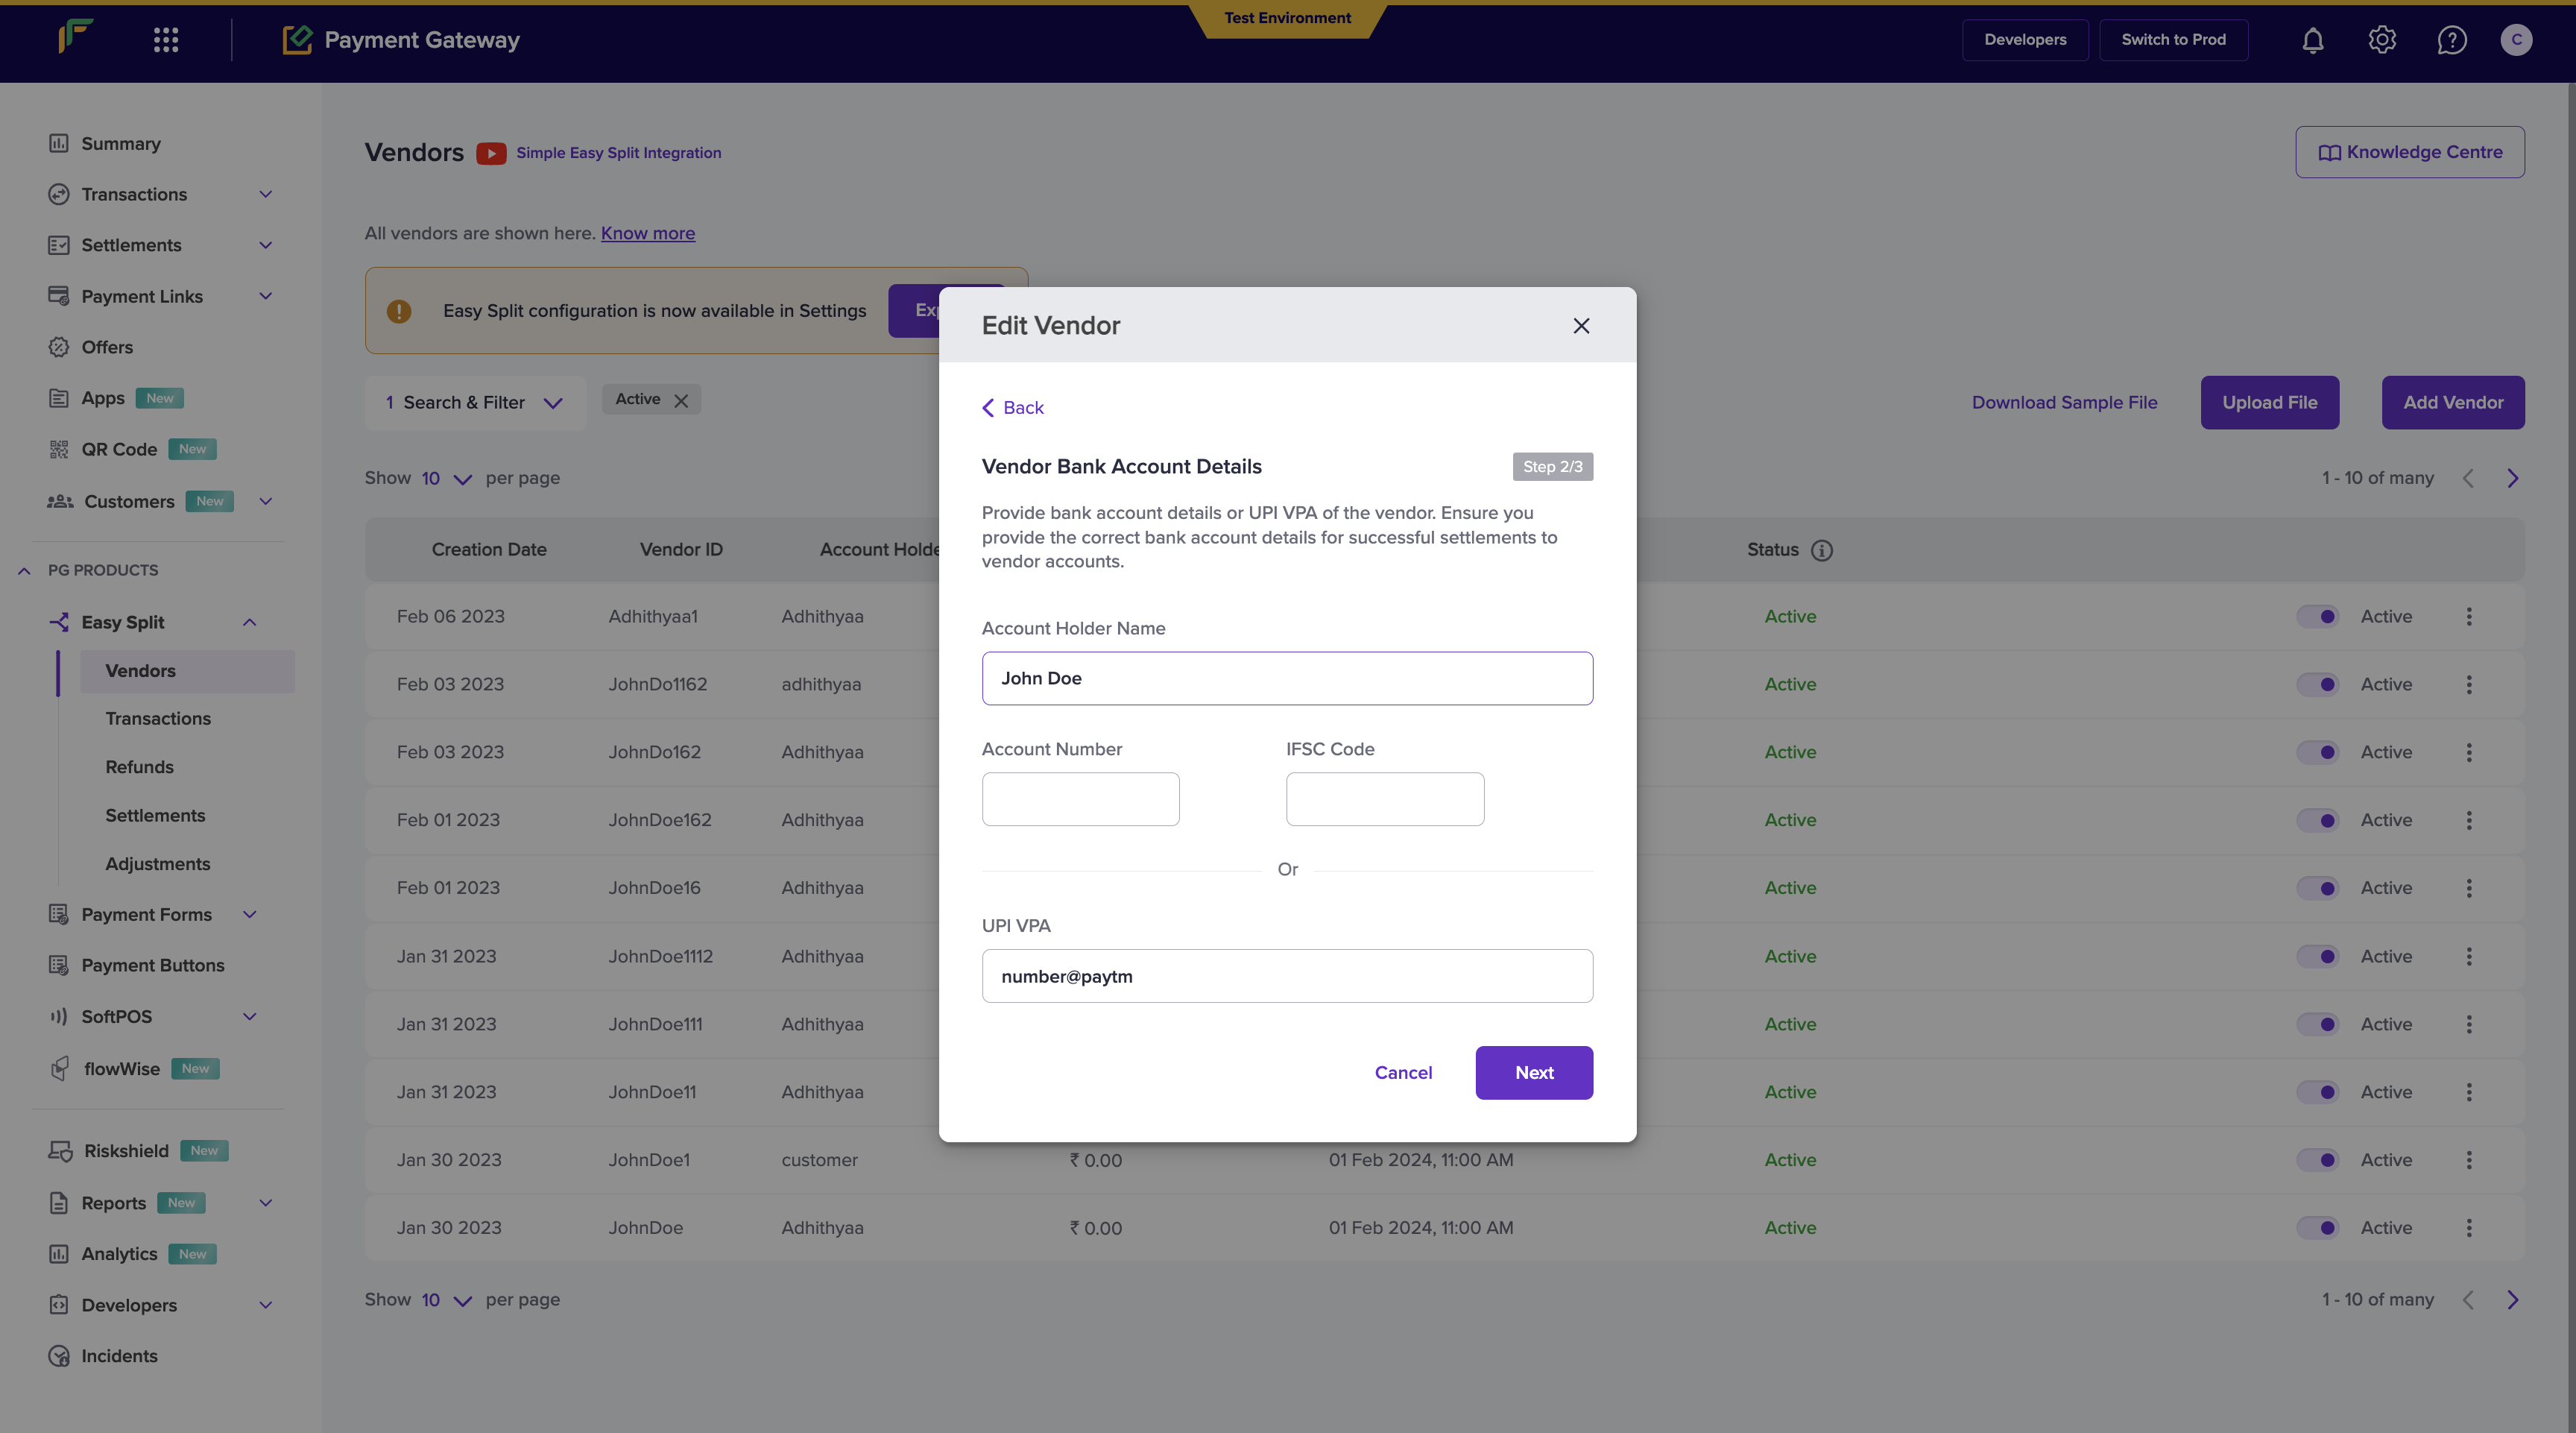
You can update the following details:
Vendor details:
- Vendor phone number
- Vendor email ID
- Schedule Option
- Dashboard access
Vendor bank account details:
- Account holder name
- Account number
- IFSC code
- UPI VPA
- Verify account details option
KYC details:
- Vendor type
- Business type
- Documents (Based on the vendor type and business type of your vendors)
Once done updating the changes, click on Update Vendor Details option to save your changes.
Edit Vendor Details Step 1
Edit Vendor - Step 2
Edit Vendor - Step 3
Delete Vendor
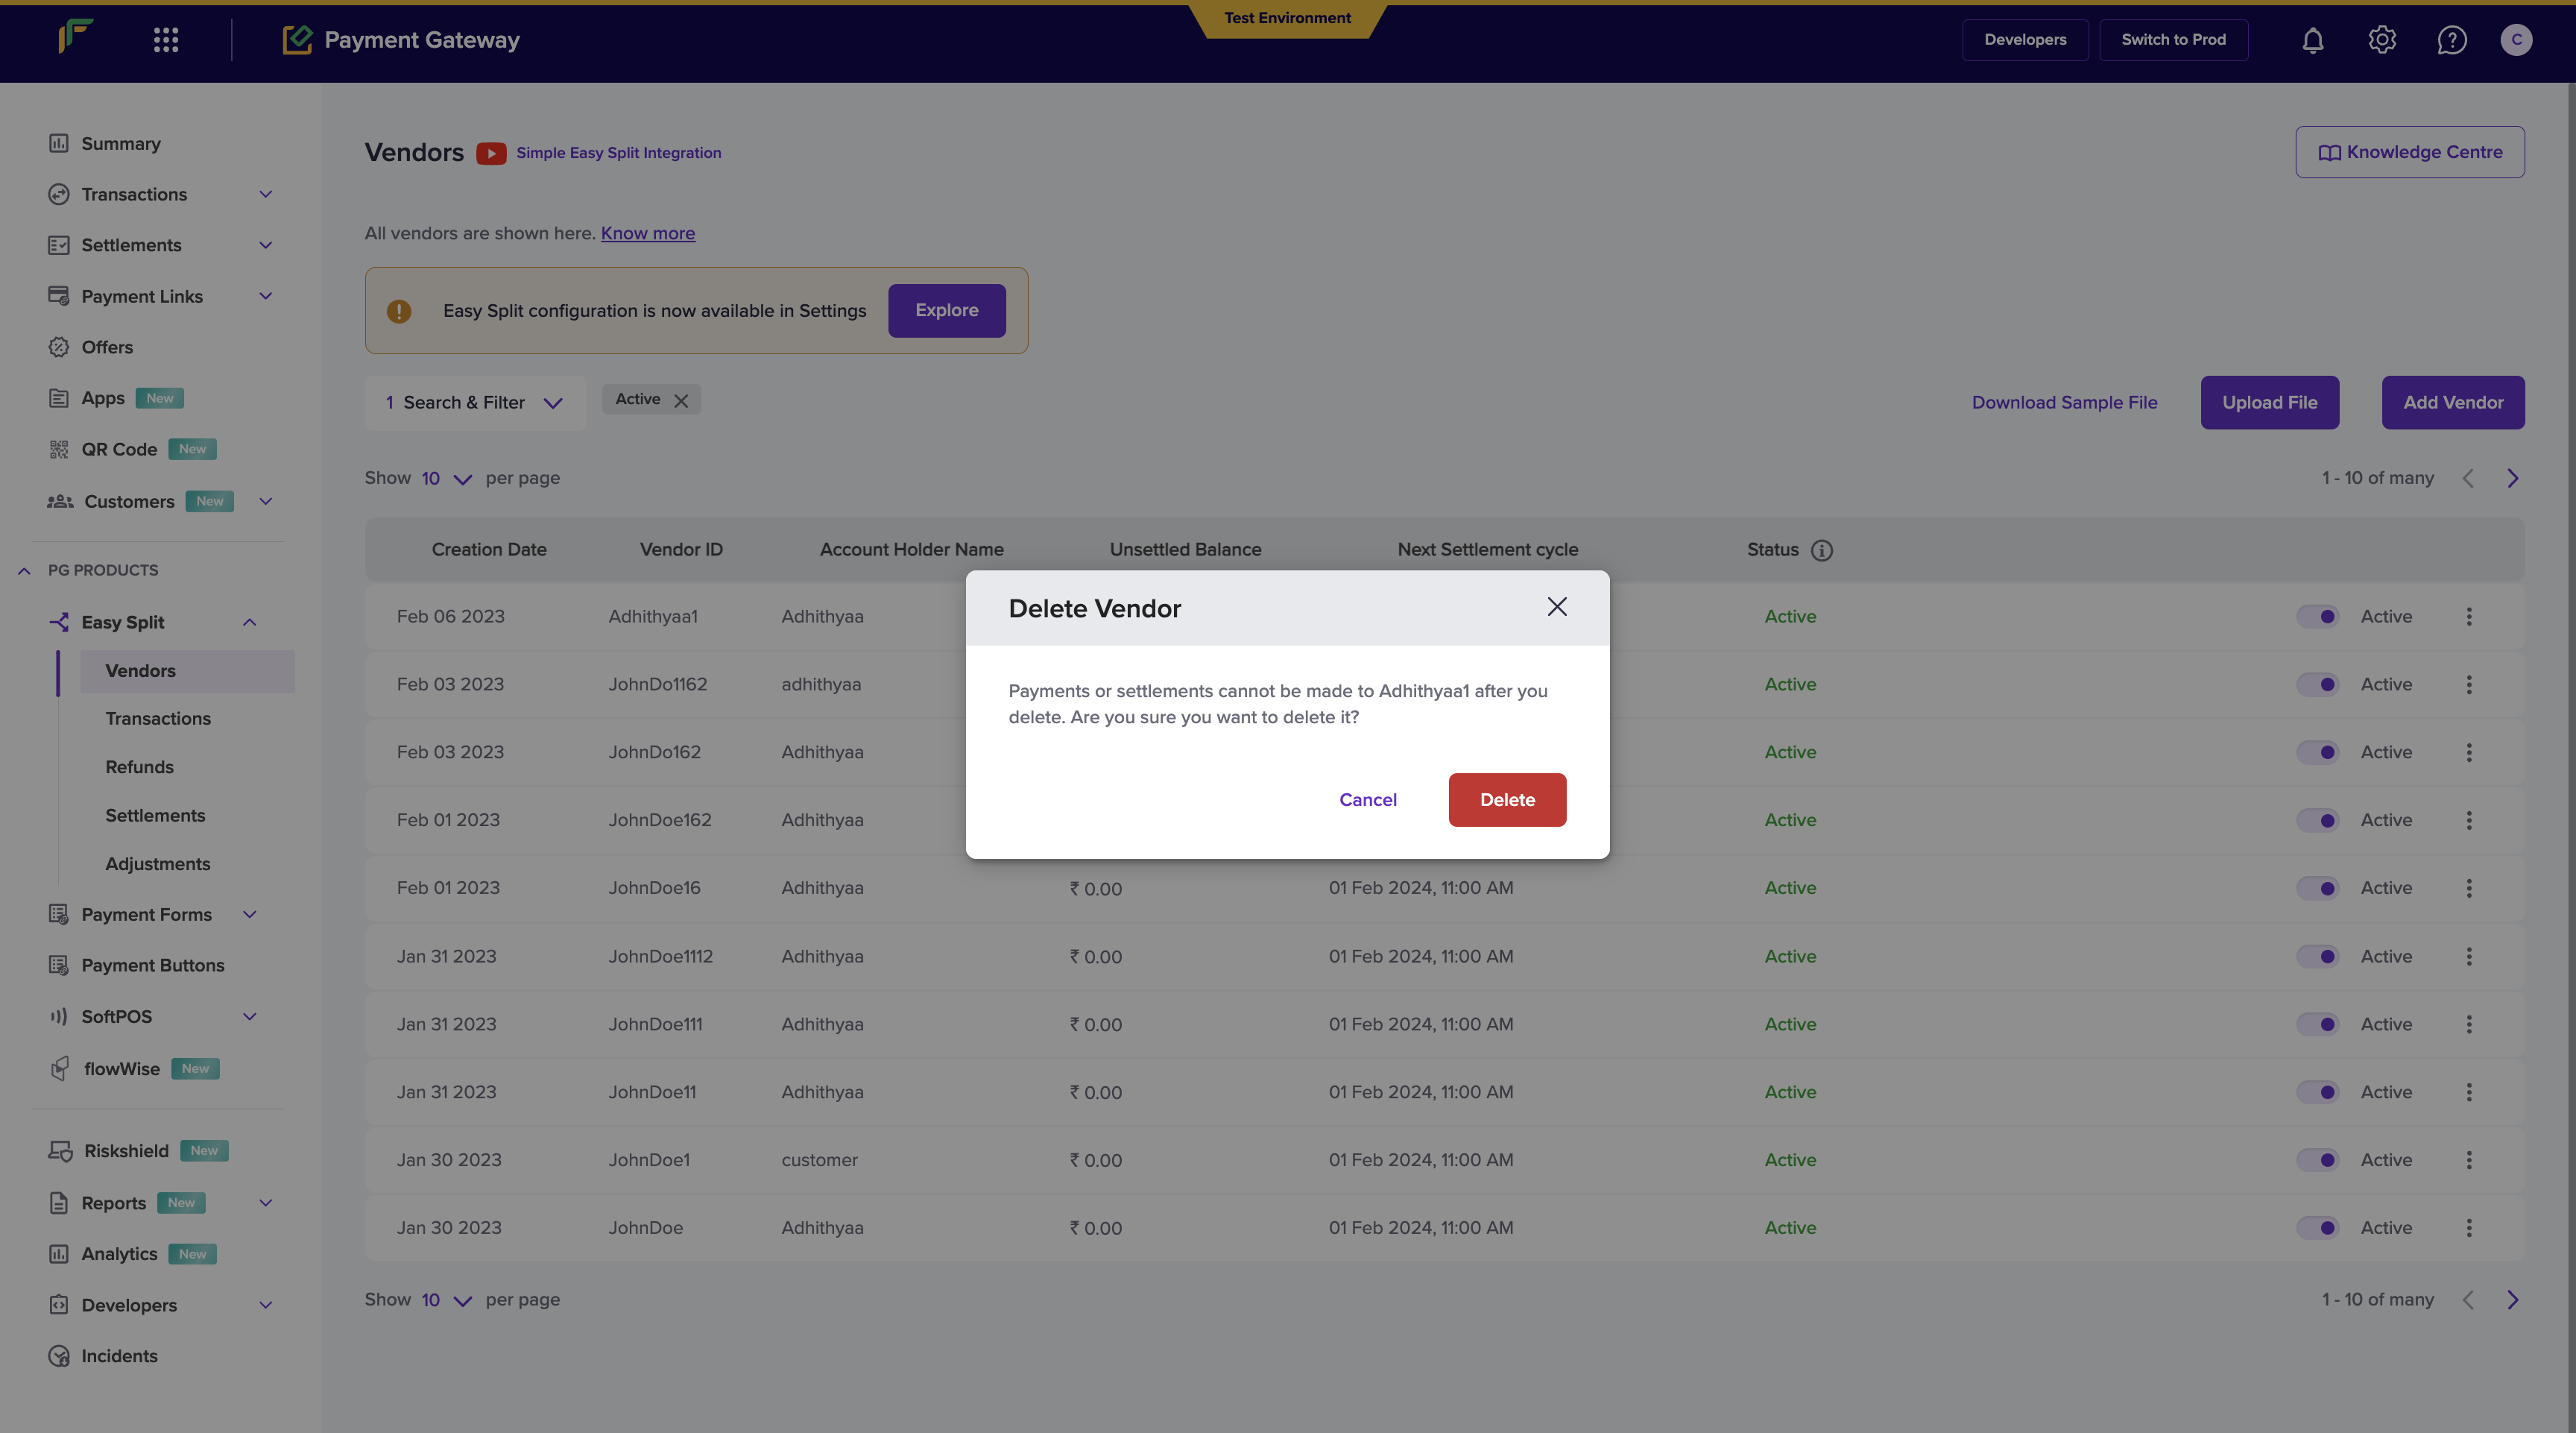
You can delete the added vendors from the dashboard. Click the ellipsis icon on the vendor you want to delete, and select Delete Vendor. Click Delete in the pop-up window.
Delete Vendor
Updated 3 months ago